Photo:Pexels
Introduction
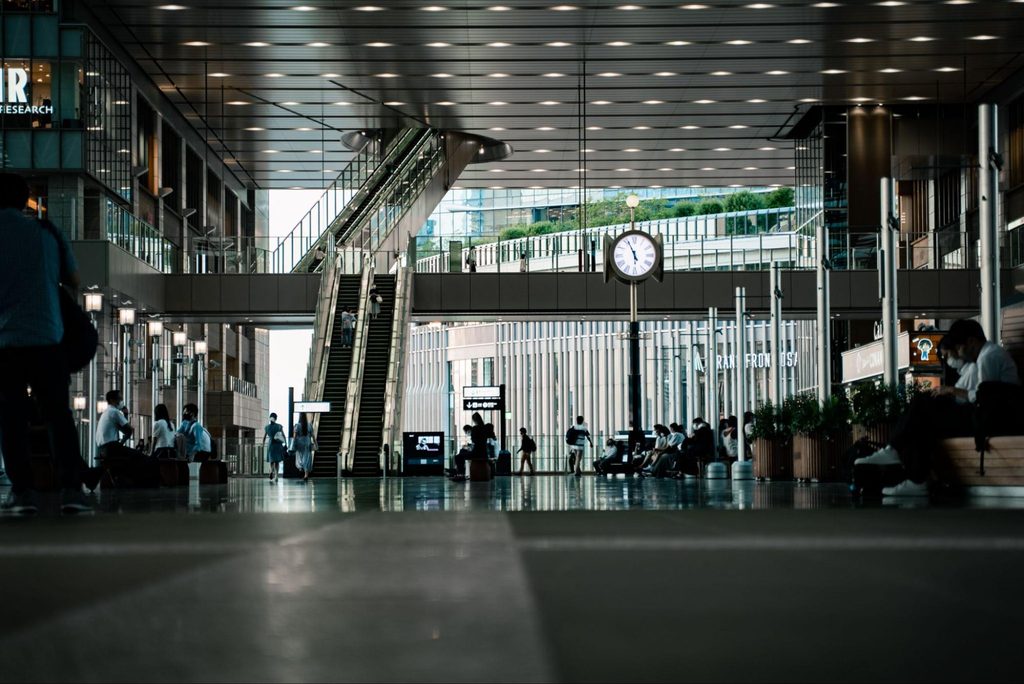
Osaka is easier to explore once the subway starts to feel familiar.
The map may look crowded at first. Colored lines cross through the center of the city, major stations have several exits, and some areas use similar station names for different railway companies.
Most visitors do not need to master the full network, though.
For a typical first trip, the Midosuji Line covers a large part of the city. It connects Shin-Osaka, Umeda, Shinsaibashi, Namba, and Tennoji on one north-to-south route. Add the Chuo Line for Osaka Castle or the bay area, and you can reach many of Osaka’s main sightseeing districts.
The train ride itself is usually simple. What slows people down is everything around it: a transfer at Umeda, the wrong exit at Namba, or a long underground walk with a suitcase.
This Osaka subway guide explains how Osaka Metro works, which lines matter most, how to pay, and how to move through large stations without turning a short trip into a stressful one.
Overview of Osaka Metro
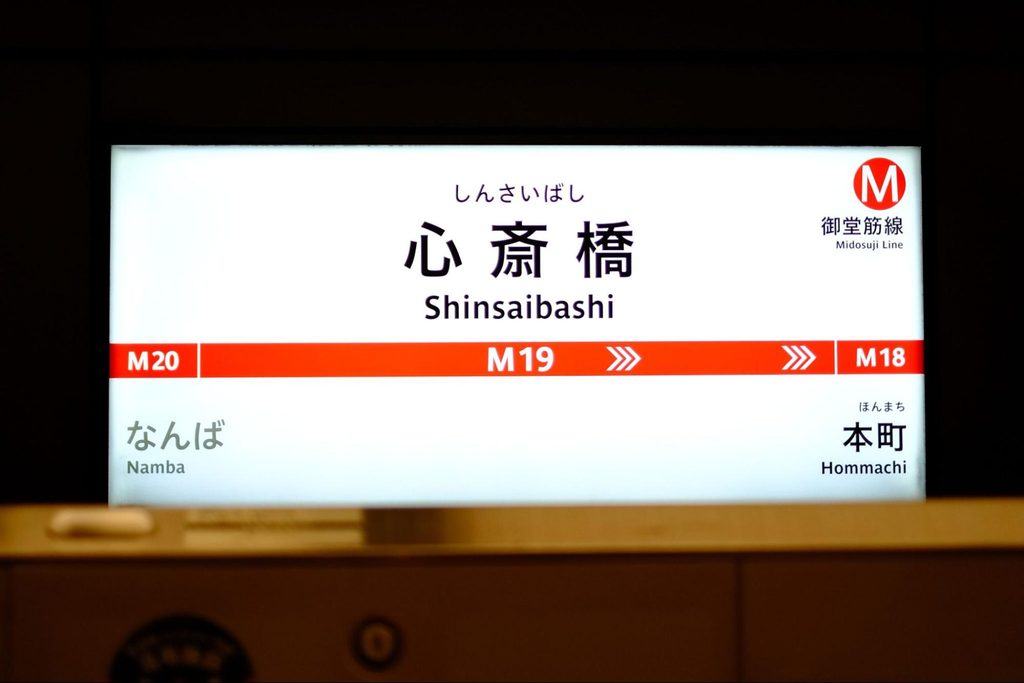
Photo:Pexels
Osaka Metro is the main subway network inside Osaka City.
It includes eight subway lines and the New Tram. The system reaches major shopping districts, food areas, parks, museums, offices, and waterfront destinations.
For a short trip, treat the map as a tool rather than something to memorise. Most journeys come down to four checks:
- The line color
- The line letter
- The station number
- The direction shown on the platform
The Midosuji Line uses the letter M. For example, Shinsaibashi is M19, Namba is M20, and Tennoji is M23.
Station numbers are useful because they appear on route maps, platform signs, train displays, and station boards. When your route says M20, you can keep looking for M20 even when Japanese place names feel unfamiliar.
Visitors often hear two area names when planning Osaka.
Kita is the northern side, centred around Umeda and Osaka Station. Minami is the southern side, centred around Shinsaibashi, Namba, and Tennoji.
The Midosuji Line connects both areas directly. For many visitors, it becomes the line they use most often.
The Lines You Will Actually Use
Most first-time visitors use two or three subway lines during a short stay.
Start with the Midosuji Line. Once you know how to use it, the rest of the map becomes less intimidating.
Midosuji Line: The Best Starting Point
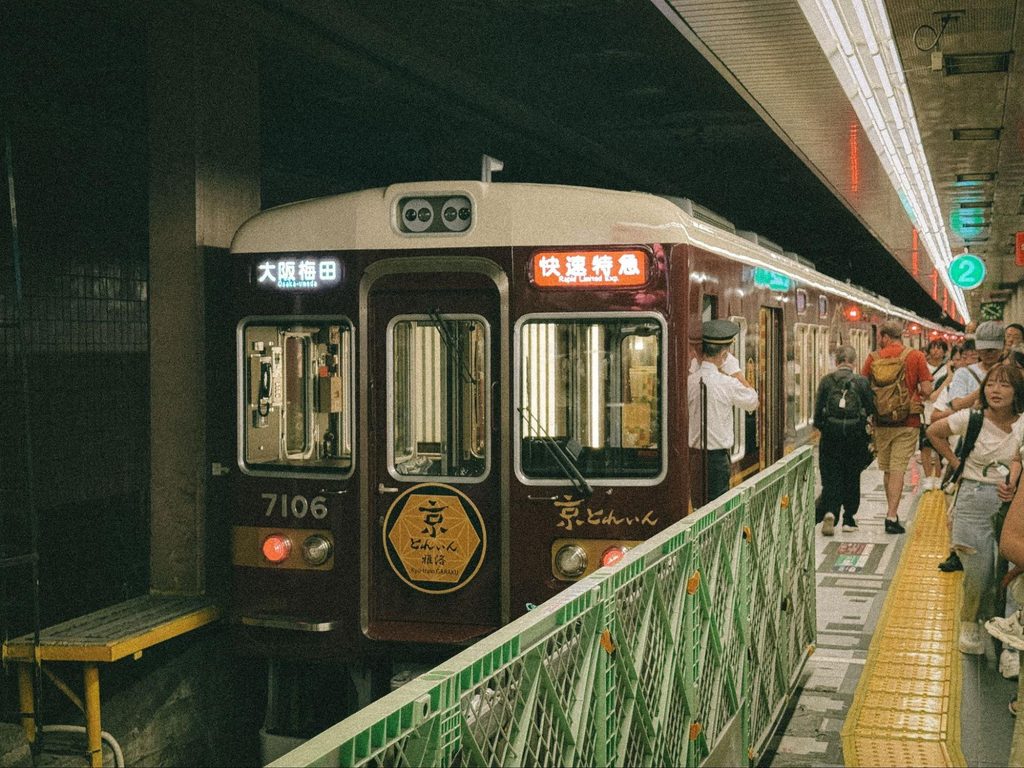
Photo:Pexels
The Midosuji Line runs north to south through central Osaka.
It links Shin-Osaka, Umeda, Shinsaibashi, Namba, and Tennoji. These areas cover a large part of what first-time visitors need: Shinkansen connections, hotels, shopping, restaurants, nightlife, and major sightseeing spots.
M13 Shin-Osaka
Shin-Osaka is where most Shinkansen passengers arrive.
It is separate from Osaka Station, which sits further south in the Umeda area. That difference matters. A hotel near Osaka Station is not within walking distance of Shin-Osaka.
After leaving the Shinkansen area, follow signs for Osaka Metro and the Midosuji Line. English signs are widely available, but the walk can feel longer than expected with luggage.
For central Osaka, staying on the Midosuji Line is usually easier than changing trains early in the journey.
Avoid planning a tight dinner reservation in Namba immediately after your Shinkansen arrives. Even when the train is on time, the transfer, hotel drop-off, and subway journey can take longer than the map suggests.
M16 Umeda
Umeda is one of Osaka’s largest transport and shopping areas.
It is useful for visitors staying near Osaka Station, department stores, large underground shopping passages, and JR train connections.
The complicated part is rarely the train. It is deciding which underground passage you are already standing in.
The wider area includes Osaka Metro Umeda, Higashi-Umeda, Nishi-Umeda, JR Osaka Station, Hankyu, Hanshin, department stores, and long connected passages. They are close on a map, but the walk between platforms can take time.
When changing trains in Umeda, follow the railway company signs rather than relying only on a map app. Your phone can show the general direction, while station signs are usually better for finding the actual platform.
M19 Shinsaibashi
Shinsaibashi is useful for the covered shopping arcade, Amerikamura, cafes, fashion stores, and the walk toward Dotonbori.
It sits one stop north of Namba. On a comfortable day, walking from Shinsaibashi to Dotonbori can be more enjoyable than taking another train.
The shopping arcade gives you a covered route for much of the walk. It is useful on rainy days, but it can feel busy in the afternoon and evening.
The subway becomes more useful when you are carrying shopping bags, returning to your hotel, or trying to avoid heavy rain.
M20 Namba
Namba is one of the most useful station areas for first-time visitors.
It is also one of the easiest places to waste your time in. “Namba” can refer to several stations operated by different companies, spread across a large underground and street-level area.
Osaka Metro Namba, JR Namba, Nankai Namba, Osaka-Namba, and nearby stations are connected across the wider district. Check the railway company and the line name before following signs.
For Dotonbori, check where you are actually heading before choosing an exit. The canal, Ebisubashi Bridge, Kuromon Market, Namba Walk, and Nankai Namba are all in the wider Namba area, but they are not beside the same exit.
By the time you realise you are at the wrong Namba exit, you may already be facing a different railway company’s station sign.
M23 Tennoji
Tennoji is useful for Abeno Harukas, Tennoji Park, Shinsekai, Shitennoji Temple, and southern Osaka.
The district feels more spread out than Namba. Railways, department stores, parks, and large roads meet around the station, so the right exit depends on where you are going next.
Tennoji also works well for visitors who want direct access to both Osaka Metro and JR services.
It can be a practical hotel base when you prefer a slightly calmer area but still want good connections to central Osaka.
Chuo Line: Osaka Castle, the Bay Area, and Yumeshima
The Chuo Line runs east to west. For sightseeing, three stations on this line matter more than the rest.
C11 Osakako
Osakako is useful for the Osaka Aquarium Kaiyukan and the Tempozan area.
The subway ride may be simple, but the final walk depends on your destination. Allow time for the station exit, waterfront paths, attraction entrances, and ticket lines.
The bay area feels more spread out than Namba or Shinsaibashi. It works best as one main area for part of the day rather than a short stop between several central Osaka plans.
Location:Google Maps
C18 Tanimachi 4-chome
Tanimachi 4-chome is useful for Osaka Castle Park and the Osaka Museum of History.
It is also a transfer station between the Chuo Line and the Tanimachi Line.
This makes it practical when you want to combine Osaka Castle with Shitennoji Temple or southern Osaka later in the day.
For Osaka Castle, decide what you want to see before you leave the station. The park is large, and the most useful route for the museum, park entrance, or castle tower area may not be the same.
A station can appear close to Osaka Castle on a map, but the walk through the grounds still takes time.
Location:Google Maps
C09 Yumeshima
Yumeshima is at the western end of the Chuo Line.
Use official information before visiting because event access, station rules, and travel conditions may change depending on the season or event schedule.
Do not assume that every standard day pass or special ticket covers every section of the network. Check the latest Osaka Metro conditions before travelling.
Tanimachi Line: A Useful Route Between Osaka Castle and Tennoji
The Tanimachi Line is useful when you want to move between Osaka Castle, Shitennoji Temple, and the Tennoji area without returning to the Midosuji Line.
It can feel calmer than the Midosuji Line outside peak hours.
Tanimachi 4-chome to Shitennoji-mae Yuhigaoka
This is a practical route when you want to combine Osaka Castle and Shitennoji Temple.
At Tanimachi 4-chome, follow signs for the Tanimachi Line.
Check the direction before boarding. When you travel south from Tanimachi 4-chome, station numbers increase from T23 toward T26 and beyond.
The transfer happens inside the paid area. You do not need to pass through the ticket gates.
That small detail matters. Leaving the station by mistake can mean finding another entrance, tapping through again, and losing time before you even start the next part of your day.
For Osaka Castle itself, there is no reason to transfer unless you are continuing somewhere else after the park.
Other Lines Worth Knowing
These lines are useful when your hotel or plans sit outside the main Midosuji corridor.
Yotsubashi Line
The Yotsubashi Line runs roughly parallel to the Midosuji Line. It can be useful when you are staying near Nishi-Umeda, Yotsubashi, or western Namba.
It may feel calmer than the Midosuji Line at busy times. However, a quieter platform is not always worth an extra transfer.
A direct train with a little more crowding is often easier than a route with two changes and several long passages.
Sennichimae Line
The Sennichimae Line is useful around Namba, Nipponbashi, and western Osaka. It can help when you want to reach Kuromon Market, Nipponbashi, or Den Den Town without adding a long walk from another station.
For first-time visitors, it is usually a support line rather than a line to build the whole day around.
Sakaisuji Line
The Sakaisuji Line is useful for Nipponbashi, Ebisucho, Tenjinbashisuji, and parts of central-east Osaka. It is worth knowing when your plans include Den Den Town, Shinsekai, or Tenjinbashisuji Shopping Street.
Most first trips can still be managed with the Midosuji Line and a few simple transfers.
How to Read Osaka Metro Signs
Break the journey into small decisions. At each stage, check only the next line, direction, station number, or exit.
Step 1: Find Your Line
Look for the line color, letter, and station number.
For example, if you are going from Namba to Tennoji, you need the Midosuji Line and should look for M23.
Step 2: Check the Direction
Every line runs in two directions.
Before boarding, look at the final station shown on the platform display. Your stop may be several stations before the end of the line, but the final station tells you whether the train is going the right way.
On the Midosuji Line, station numbers increase when you travel south from Umeda toward Namba and Tennoji.
Step 3: Check the Station Number Again
Inside the train, watch the station number as you approach your stop.
This is often easier than trying to recognise the pronunciation of every station announcement, especially on your first day.
Step 4: Check the Exit Before Leaving
The train journey may take only a few minutes. The exit search can take longer.
In Osaka, the final five minutes can be more confusing than the subway ride itself.
Before leaving the platform, check the exit number, landmark, hotel name, or nearby street on your phone. A five-minute walk on a map can turn into fifteen minutes when you surface on the wrong side of a large road or enter the wrong underground passage.
Save your hotel, first stop, restaurant, and evening destination before leaving each morning.
How to Pay for Osaka Metro
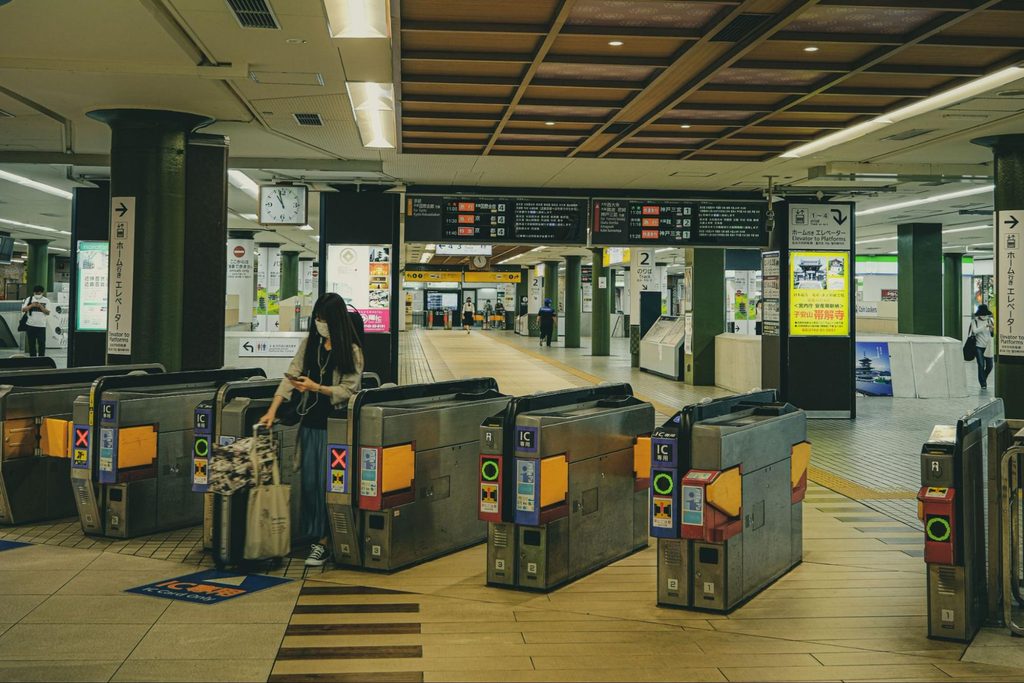
Photo:Pexels
You have several practical ways to pay when riding the Osaka Metro.
The right option depends on how often you expect to ride and whether your plans are fixed or flexible.
IC Card: The Most Flexible Option
An IC card is a rechargeable transport card.
Tap it at the ticket gate when entering, then tap it again when leaving. The system calculates the fare for your journey.
This works well when your plans change during the day. You can leave Namba earlier than planned, move to Tennoji, then return by another route without buying a separate ticket each time.
ICOCA is widely used in the Kansai area. Other major Japanese IC cards may also work, but check current compatibility and purchase conditions before your trip.
Keep enough balance on the card. Running low is not a major problem, but it can slow you down at a busy exit gate. You may need to use a fare adjustment or top-up machine before leaving the paid area.
This becomes inconvenient when you are trying to meet a tour group, catch an airport train, or arrive at a reserved restaurant on time.
Contactless Payment
Osaka Metro accepts eligible contactless payment cards and compatible devices at designated gates.
This can suit visitors who prefer to use one card or phone for short subway trips.
Use the same card or device when entering and leaving.
Entering with one card and leaving with another card, phone, or smartwatch can cause a problem because the gate cannot match the journey correctly.
Keep hotel key cards and other payment cards separate when tapping. A wallet or phone case with several cards may not read the one you intended to use.
Paper Tickets
Paper tickets are still useful for a small number of rides.
They can make sense on your arrival day when you are tired and only need to travel from the station to your hotel.
The downside is simple: you need to buy tickets more often.
They are less convenient on a sightseeing day with several separate subway trips.
One-Day Passes
A one-day pass can be useful when you are travelling across several parts of Osaka.
It may work for a day that starts in Umeda, continues to Osaka Castle, then ends in Tennoji or Namba.
It may not be necessary when you are spending most of the day in one walkable area. Shinsaibashi, Dotonbori, and Namba can often be explored on foot after you arrive.
Check the official Osaka Metro website before buying a one-day pass. Coverage, exclusions, and conditions may change.
How to Transfer Without Getting Lost
Transfers are where many first-time visitors lose confidence.
The main rule is to follow the next line, not the nearest exit.
When changing from one Osaka Metro line to another, stay inside the paid area unless signs clearly tell you to leave.
Look for the line letter and color of your next train.
At large stations, signs may point to several railway companies, shopping areas, exits, and subway lines at the same time. You do not need to understand every sign around you.
You only need to find the next line in your route.
A Simple Transfer Routine
Before leaving your hotel, take a screenshot of:
- Your departure station
- Your destination station
- Your line letter
- The final station in your direction
- The station exit or landmark near your destination
When you arrive at the transfer station:
- Leave the train
- Follow the sign for your next line
- Check the platform direction
- Confirm the station number again
- Board after the platform display matches your route
That routine takes very little time and prevents most mistakes.
Major Stations: What to Expect
Shin-Osaka
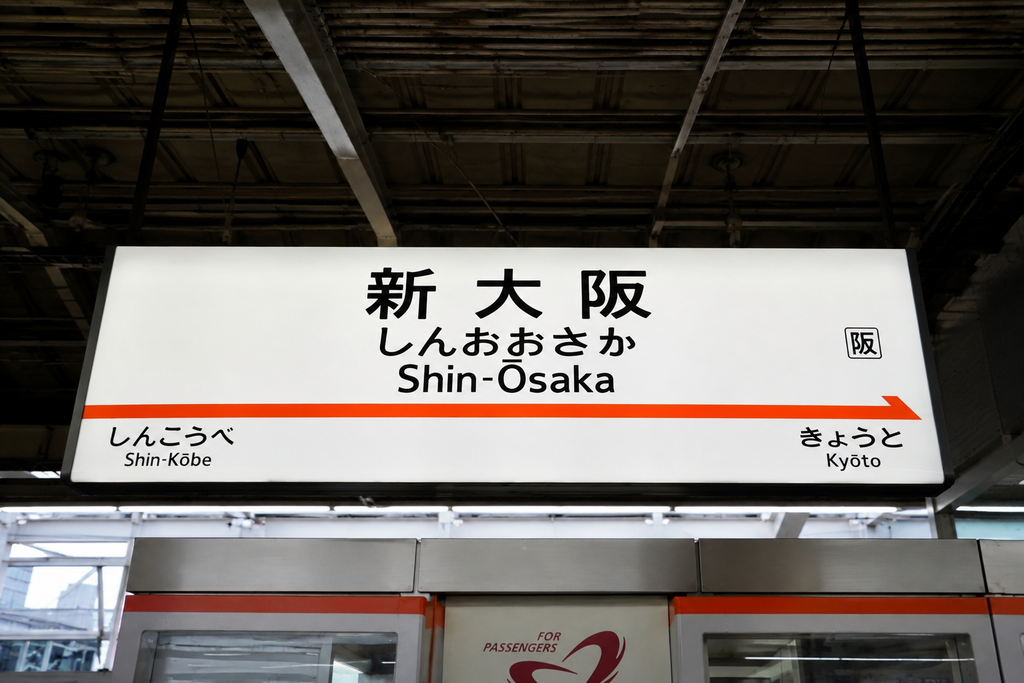
Photo:Unsplash
Shin-Osaka is the main Shinkansen arrival point for Osaka.
It is separate from Osaka Station and Umeda. First-time visitors sometimes assume they are the same place because both names include Osaka. They are not.
After arriving by Shinkansen, follow signs for Osaka Metro and the Midosuji Line.
The route is clearly marked in English, but leave some time for the walk, especially with luggage.
For central Osaka, the Midosuji Line is usually the easiest option because it takes you directly toward Umeda, Shinsaibashi, Namba, and Tennoji.
Umeda
Umeda is one of the most complex station areas in Osaka.
Several railway stations sit close together underground and above ground. The area includes Osaka Metro Umeda, Higashi-Umeda, Nishi-Umeda, JR Osaka Station, Hankyu, Hanshin, department stores, and long underground shopping passages.
Allow time here.
A transfer that looks simple on a route app may involve several turns, an elevator search, a crowded passage, and a walk through a department store entrance.
When carrying luggage, choose a route with fewer transfers even when it takes slightly longer on paper.
Shinsaibashi
Shinsaibashi is easier than Umeda but still includes several connected underground areas.
It is useful for the covered shopping arcade, fashion stores, cafes, and the walk toward Dotonbori.
Before leaving the station, check whether your destination is inside the arcade, near Amerikamura, near Crysta Nagahori, or closer to Dotonbori.
Those places are all walkable, but choosing the correct exit saves energy.
Namba
Namba is one of the best station areas for visitors. It is also one of the most confusing. When you see “Namba,” check the line and company.
Osaka Metro Namba serves the Midosuji Line, Sennichimae Line, and Yotsubashi Line. Nearby railways include JR, Nankai, Kintetsu, and Hanshin.
For Dotonbori, check whether your destination is near the canal, Ebisubashi Bridge, Kuromon Market, Namba Walk, or Nankai Namba.
The official station pages provide exit maps, facilities, elevator routes, and transfer information. They are useful when you are travelling with luggage or need step-free access.
Tennoji
Tennoji is a large southern transport hub. It connects Osaka Metro, JR, Kintetsu, Abeno Harukas, department stores, parks, and routes toward Shinsekai.
It is a good area for visitors who want a slightly calmer pace than central Namba.
Check whether your destination is closer to the east side, west side, park side, or Abeno side before leaving the station.
Using Osaka Metro With Luggage
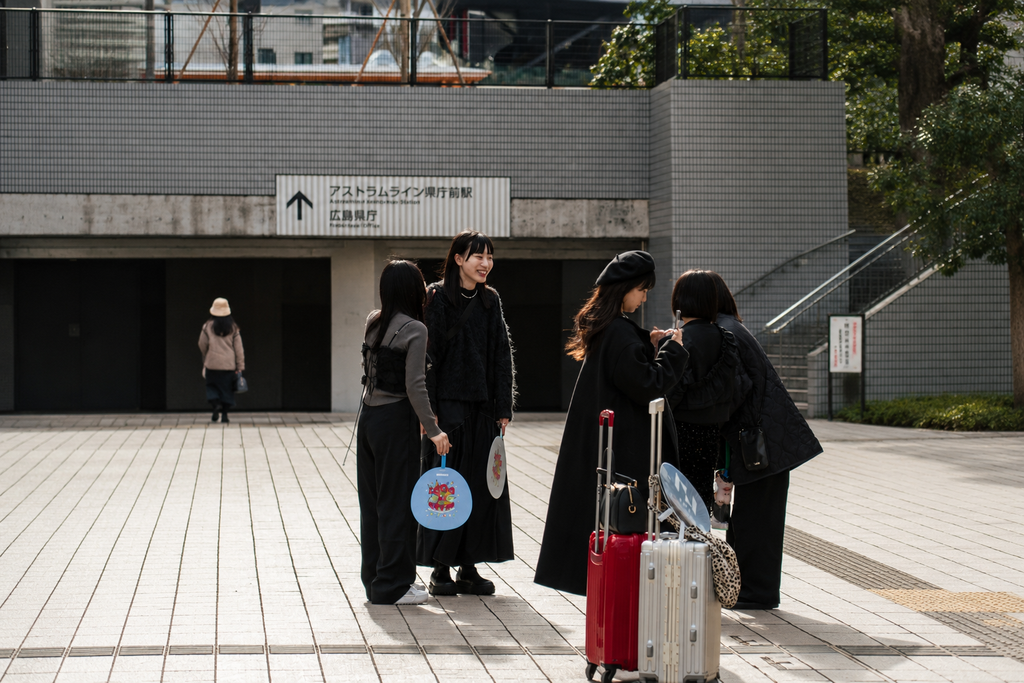
Photo:Unsplash
Travelling with luggage changes which route feels easiest.
A station may have elevators, but they may not be near the platform, gate, or exit you need. Do not choose a route only by travel time.
Check whether it includes:
- A difficult transfer
- A long underground passage
- A large station with several exits
- A route that may require stairs
- A final walk with a suitcase over uneven pavement
- A hotel that is near a station but far from the useful exit
One direct train is often better than a faster route with several changes.
If you would rather not bring a large suitcase into the subway at all, sending it ahead of time is an option.
You may check maps, train routes, and opening hours several times during the day. Mobile data can make those small checks easier, especially when you need to compare exits or change plans after rain. See mobile data options for Japan
Travel Tips for Using Osaka Metro
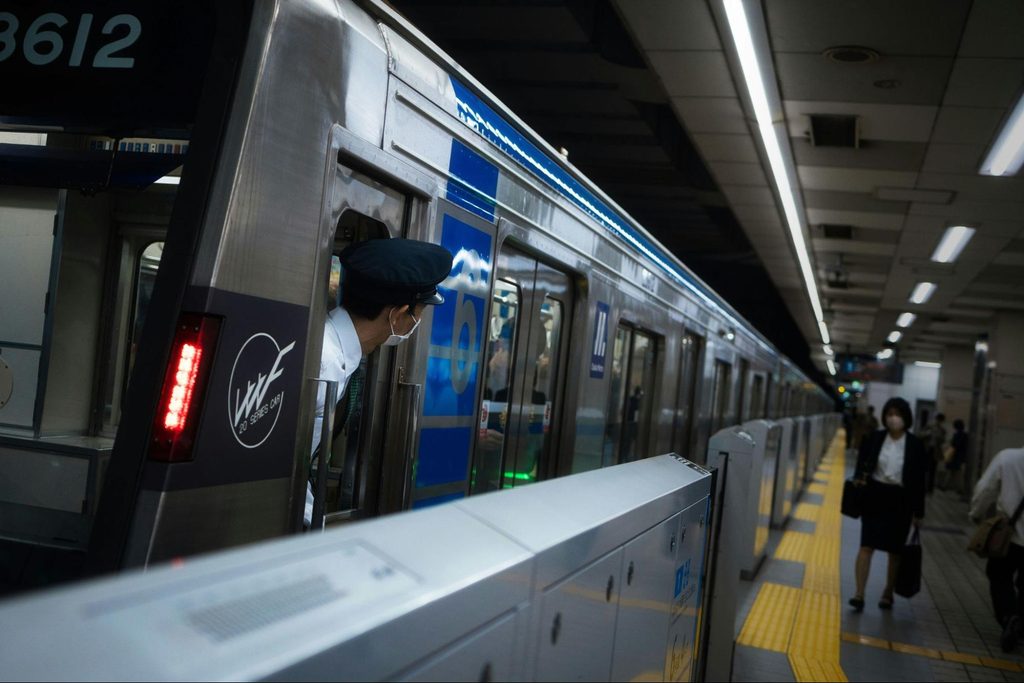
Photo:Unsplash
Avoid Rush Hour When Possible
Weekday mornings and evenings can be crowded, especially on the Midosuji Line. You do not need to avoid the subway completely. Just avoid making your first difficult transfer or moving large luggage during the busiest part of the day. Leaving after the morning rush gives you more room to read signs, use elevators, and board without pressure.
Check the Last Train Before Dinner
When you are spending the evening in Namba, Umeda, or Dotonbori, check the last train time before settling into dinner. The exact time varies by line and direction. This matters when your hotel is not within walking distance and you do not want to switch to a taxi late at night.
Use Station Numbers, Not Just Names
Station names can be long or hard to pronounce. Numbers are faster and more recognizable.
M20 is Namba. M23 is Tennoji. C18 is Tanimachi 4-chome.
When you see the number on a platform sign, train door, or route map, you know you are following the correct route.
Keep Your Route Simple
A map may show that Umeda, Osaka Castle, Universal City, Namba, and Tennoji can fit into one day.
Your legs may disagree.
Choose two or three nearby areas and stay longer. A slower plan leaves room for food, restrooms, rain, photos, and wrong turns without making the day feel rushed.
Use Official Information for Changes
Station construction, event access, ticket conditions, service notices, and temporary closures can change. Check the official Osaka Metro website before your trip and again on the day when your plans depend on a specific route.
From Kansai Airport to Osaka Metro
Osaka Metro does not run directly to Kansai International Airport.
You first take a railway service into Osaka, then connect to the subway.
For Namba
Nankai Railway is often practical when your hotel is near Namba. After arriving in the Namba area, follow signs for Osaka Metro if you need to continue to another part of the city.
Allow extra time because Nankai Namba and Osaka Metro Namba are connected through a busy station area, not a single platform.
For Tennoji or Shin-Osaka
JR services can be useful when you are heading toward Tennoji, Shin-Osaka, Kyoto, or other JR-connected destinations. From Tennoji or Shin-Osaka, you can connect to the Midosuji Line.
Choose the airport route based on your hotel location and next destination, not only on the shortest train ride. Arriving on the right side of the city can save you a difficult transfer later.
Summary
Osaka Metro becomes easier when you stop trying to understand the whole system at once.
Start with the Midosuji Line. It connects several of the places first-time visitors use most: Shin-Osaka, Umeda, Shinsaibashi, Namba, and Tennoji.
Use the Chuo Line for Osaka Castle, the bay area, or Yumeshima. Use the Tanimachi Line when you want to move between Osaka Castle, Shitennoji, and southern Osaka without returning to the busiest central stations.
In the morning, give yourself time to understand your first station. During the day, check the next exit before you leave the platform. In the evening, confirm the last train before dinner.
The subway is not difficult because there are too many lines.
It becomes difficult when you rush through a large station without checking the next small step.
Follow the line color. Check the station number. Confirm the direction. Choose the exit before you surface. That is enough to move around Osaka with much more confidence.