Photo: Pexels
Introduction
A Japan trip planner works best when it makes decisions easier, not when it creates a longer list. First-time visitors often save cities, temples, food stops, day trips, and rail passes. The difficult part is connecting those ideas into one realistic route.
Start with the trip structure. Decide the number of days, arrival airport, departure airport, and city order. Choose hotel areas next. Then add transport, luggage plans, and daily activities. This order reduces backtracking, long transfer days, and rushed mornings.
For many first trips, Tokyo, Kyoto, and Osaka are enough. Seven days can work, but the pace will be quick. Eight to ten days give you more room for jet lag, weather changes, and slower meals. Longer trips can include one day trip or an onsen stay.
Small details often decide whether a plan feels easy or not. A hotel may look close to a station but sit far from the useful exit. A short transfer can become tiring with luggage. A popular area may feel calm early and crowded two hours later.
This guide explains how to build a route, choose hotel areas, plan transport, manage luggage, and create flexible sightseeing days.
You will check maps, train routes, and opening hours often. A Japan eSIM can make those small checks easier while traveling.Japan Trip Planning at a Glance
A simple first-trip formula is:
- 5 to 6 days: choose Tokyo and one Kansai base.
- 7 to 9 days: visit Tokyo, Kyoto, and Osaka with no more than three hotels.
- 10 to 14 days: add one regional stop, day trip, or onsen stay.
Keep the route moving in one direction when possible. For example, arrive in Tokyo and leave through Kansai International Airport. If your flights require a return to Tokyo, keep the final night near a simple airport access.
Confirm the decisions that shape the entire route first. Keep ordinary meals and some evenings flexible.
How to Use Sample Itineraries
Sample plans help you understand distance and travel order. Treat them as references, not checklists. Compare several routes, then keep only the parts that match your flight times, interests, and walking pace.
Before using any sample plan, check three details. Confirm whether the arrival and departure airports match yours. Check whether the plan assumes a rail pass or private transport. Finally, compare the suggested pace with the slowest traveler in your group.
Step 1: Decide How Many Days You Really Have
Set the trip length before looking at hotels. Hotel deals can pull your attention toward unsuitable dates or areas. Let the number of usable days control the route.
Five to Six Days
A five or six-day trip is short for three major cities. Choose Tokyo and one Kansai base. Kyoto can work as a base for a short Osaka visit. Osaka can also work if food and evening activities matter more.
Avoid changing hotels every second day. Each move includes packing, check-out, station travel, luggage storage, and another check-in. From my experience as a tour conductor, these moves take more energy than the timetable suggests.
Seven to Nine Days
Tokyo, Kyoto, and Osaka become more realistic with seven to nine days at your disposal. A useful starting point is three nights in Tokyo and two or three nights in Kyoto. Add one or two nights in Osaka.
The final split depends on your interests and departure airport. Travelers leaving through Kansai International Airport may benefit from finishing in Osaka.
Ten to Fourteen Days
Ten days to two weeks allow for a calmer route. Add one or two extensions, such as Nara, Hakone, Hiroshima, Kanazawa, or an onsen town. Do not add every option.
Count arrival and departure days as partial days. After a long flight, the first evening may only include airport travel, check-in, dinner, and a short walk. Airport travel can also use most of the final day.
Step 2: Choose the Route Before the Hotels
Your arrival and departure airports shape the whole plan. Compare flights before paying for hotels. A cheaper ticket can create an expensive or tiring return journey.
One-Way Route
A common route is Tokyo to Kyoto to Osaka. An open-jaw ticket can support this plan. You may arrive through Haneda Airport or Narita Airport and leave through Kansai International Airport.
This route avoids returning across the country. Compare the airfare with the final airport transfer before deciding.
Round Trip from Tokyo
A round trip from Tokyo can still work well. Place Kyoto and Osaka in the middle. Return to Tokyo at least one night before an early international flight.
Avoid connecting a long Shinkansen journey directly to an international flight. Even a small delay can put the flight at risk.
Kansai-Focused Route
Travelers with limited days can use Kyoto or Osaka as one base. This removes a long Tokyo transfer and gives more time in Kansai. It also reduces hotel changes.
Avoid a route such as Tokyo to Kyoto to Osaka to Tokyo unless your flights require it. The easiest route may not match the cheapest flight. Compare the full cost before paying.
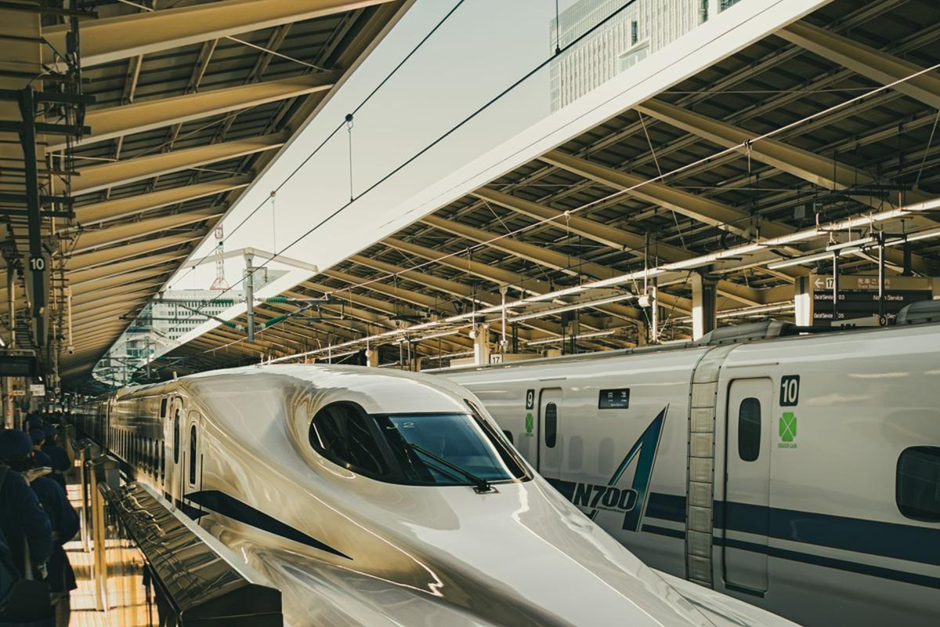
Photo: Pexels
Step 3: Choose Hotel Areas That Match the Route
A hotel should remove daily friction. Price and neighborhood are not enough. Check the station, correct exit, walking route, and next travel day.
Tokyo
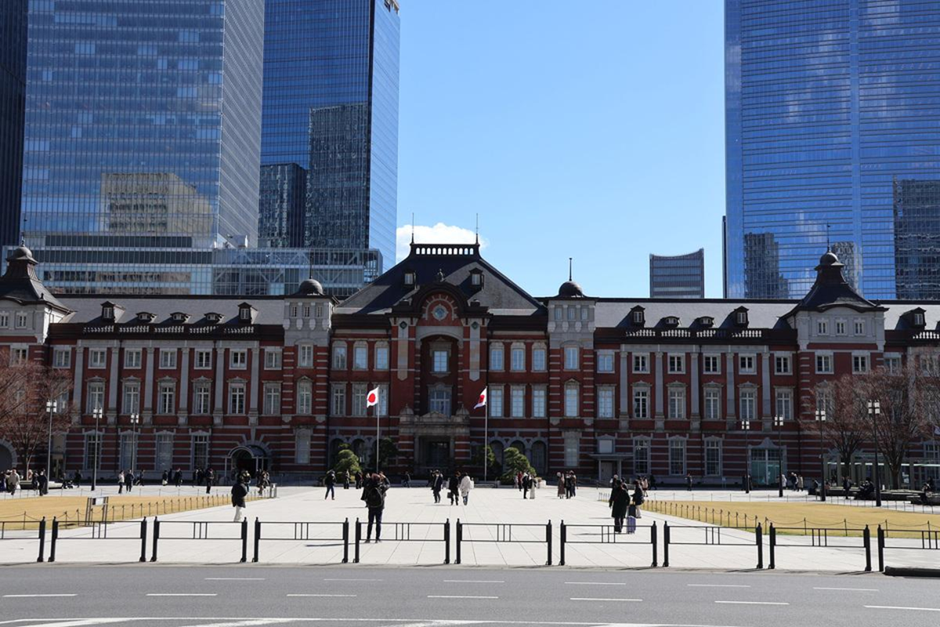
Tokyo Station is useful for Shinkansen travel and eastern Tokyo. Ueno and Asakusa suit travelers who prefer calmer evenings. Shinjuku gives easy access to western Tokyo, but the station is large. Shibuya is lively and convenient for nightlife.
Check the actual hotel entrance. A property may use a station name even when the useful exit is far away. Look for elevators when traveling with luggage.
Location: Tokyo Station on Google Maps
Kyoto
Kyoto Station is practical for short stays and intercity travel. It also simplifies days when you change hotels. Higashiyama and Gion place you closer to traditional streets, but hills and longer walks may affect the day.
Check the route from the station to the hotel. A beautiful neighborhood may require a bus, a slope, or a longer walk after dinner.
Location: Kyoto Station on Google Maps
Osaka
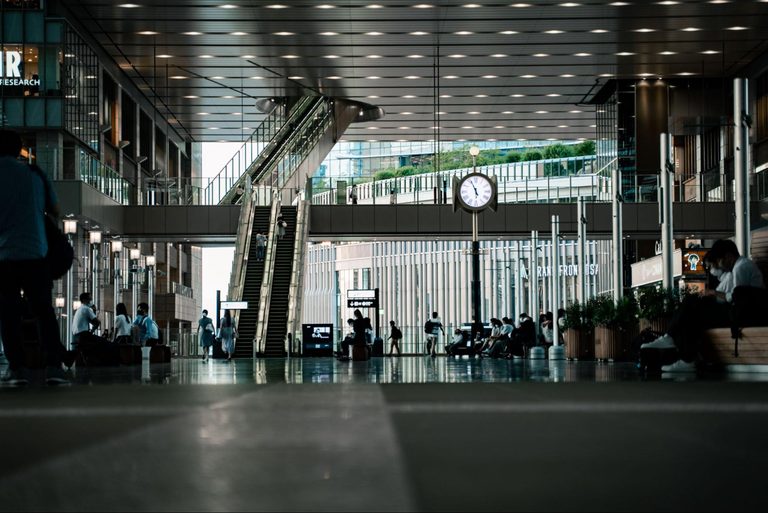
Umeda is useful for JR services and travel toward Kyoto or Kobe. Namba works better for Dotonbori, evening meals, and southern Osaka. Osaka Station and Umeda cover one broad area, but several rail systems use different station names.
Save the exact station and exit. This matters when returning late or carrying bags through underground passages.
Location: Osaka Station and Umeda on Google Maps
For every hotel, confirm luggage storage, nearby food, check-in time, and the route to the next city. One less transfer can be worth more than a small room discount.
Step 4: Build a Transport Plan, Not Just a Train List
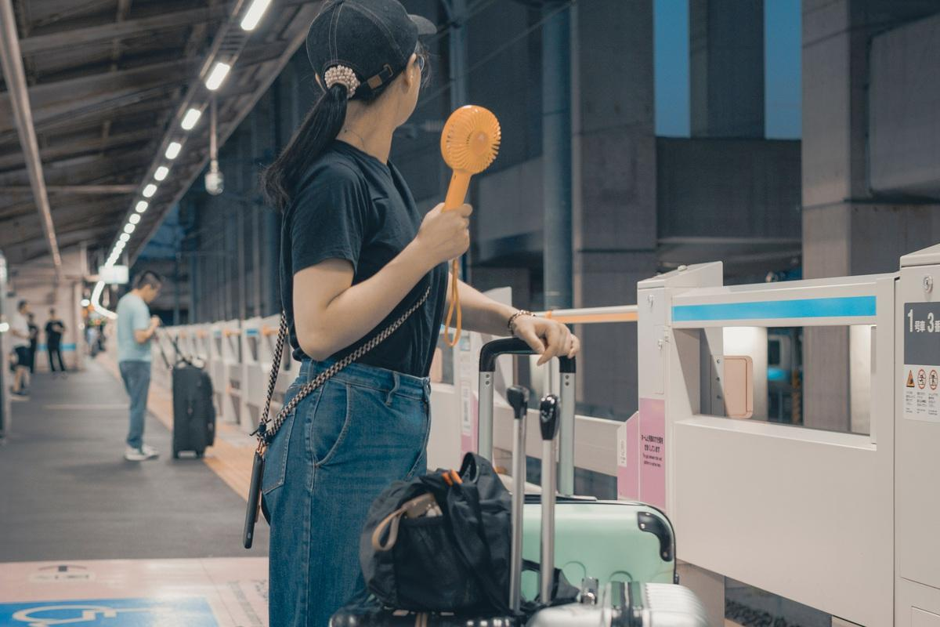
Japan’s trains are reliable, but a timetable does not show every part of the journey. Add time for finding the gate, reaching the platform, buying food, using the restroom, and moving a suitcase.
The fastest Tokaido Shinkansen services connect Tokyo and Kyoto in about 130 minutes. Your hotel-to-hotel journey will be longer. Arrive early at Tokyo Station or Shinagawa Station.
Keep the ticket, QR code, or linked IC card ready before the gate. Save an offline screenshot of the reservation. Do not depend on one email loading at the station.
An IC travel card is useful for many local trains, subways, buses, lockers, and small purchases. It does not replace every rural service or long-distance ticket.
Do not buy a nationwide rail pass automatically. List the long-distance journeys first. Compare their total cost with the pass price. Individual tickets may be easier for a simple Tokyo, Kyoto, and Osaka route.
Large luggage changes the route. On the Tokaido, Sanyo, and Kyushu Shinkansen, special rules apply. Baggage with total dimensions of 160 to 250 centimeters requires a seat with an oversized baggage area. Measure your suitcase before booking.
Another option is luggage forwarding. Many hotels can arrange delivery to your next hotel. Delivery is not always same-day. Keep one night of clothing, medicine, documents, and chargers with you.
When the time difference is small, choose the route with fewer transfers. A route that is ten minutes slower may feel easier with children, older travelers, or large bags.
Step 5: Plan Each Day by Area
A practical daily plan groups nearby places. It should not cross the city several times to follow a social media list. Choose one anchor activity, one nearby area, and a flexible evening.
Tokyo
Use one side of Tokyo at a time. Asakusa, Ueno, and Tokyo Skytree can form an eastern day. Meiji Jingu, Harajuku, and Shibuya can form a western day. Add Shinjuku only if you still have energy.
You do not need every stop. Shopping, meals, and station walking often take longer than expected.
Tool: Tokyo Metro subway map
Location: Tokyo on Google Maps
Kyoto
Kyoto requires careful route order because famous sights sit in different directions. Fushimi Inari works well with southern or central Kyoto. Kiyomizu-dera, Sannenzaka, Yasaka Shrine, and Gion fit one broad walking zone.
Arashiyama deserves a separate half-day or day. Avoid placing Arashiyama, Kiyomizu, and Fushimi Inari in one tight schedule. Crowds, heat, and bus waiting can change the pace.
Tool: Kyoto official maps and planning tools
Location: Kyoto on Google Maps
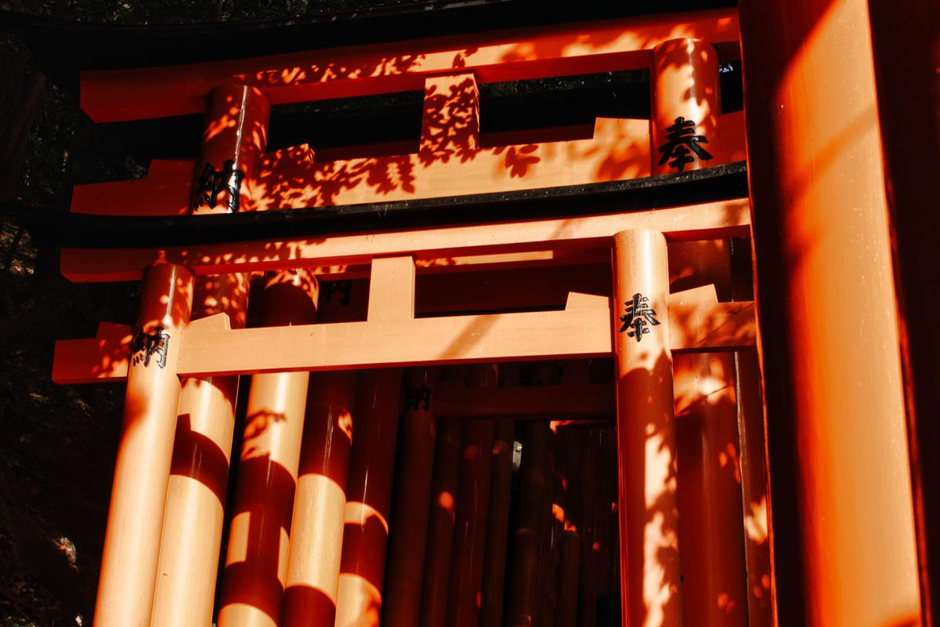
Photo: Pexels
Osaka
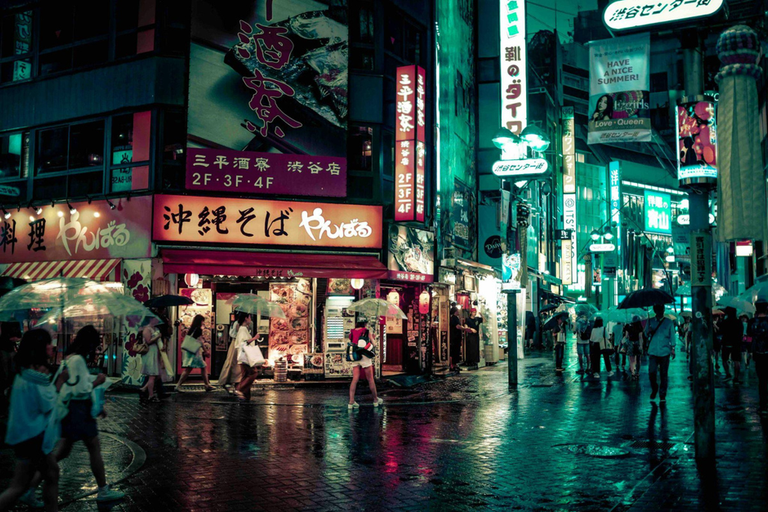
Choose one daytime area and one evening area. Osaka Castle can pair with Umeda. Shinsekai can pair with Namba and Dotonbori. Leave enough time to eat without turning every meal into a reservation.
Osaka stations can feel confusing because JR, Osaka Metro, and private railways may use different names in the same area. Check the route before leaving the hotel.
Tool: Osaka railway map
Location: Osaka on Google Maps
Prepare one weather backup for each day. Museums, department stores, covered shopping streets, and cafés help during heavy rain or summer heat. Save outdoor viewpoints for a clearer period.
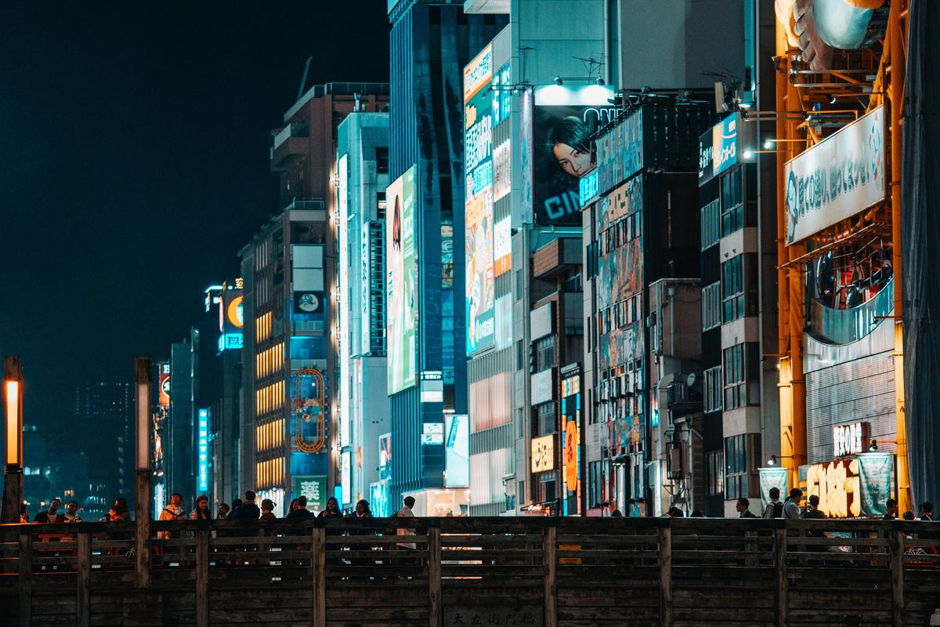
Photo: Pexels
A Simple Eight-Day Japan Itinerary
This example keeps the route simple and gives each major city a clear role.
Day 1: Arrive in Tokyo
Travel to the hotel, eat nearby, and take a short walk. Do not place a timed attraction on the arrival evening.
Day 2: Eastern Tokyo
Start in Asakusa before the busiest period. Continue to Ueno or another nearby area. Finish early if jet lag returns.
Day 3: Western Tokyo
Visit Meiji Jingu or Harajuku first, then continue toward Shibuya. Add Shinjuku only if you still have enough energy.
Day 4: Tokyo to Kyoto
Take the Shinkansen after the morning rush. Leave your luggage at the Kyoto hotel and explore one central area. Keep the evening light.
Day 5: Eastern Kyoto
Visit the Kiyomizu area early. Walk toward Yasaka Shrine and Gion. The hills and stone streets can feel tiring in heat or rain, so include a café break.
Day 6: Southern Kyoto and Free Time
Start at Fushimi Inari. You do not need to climb the entire mountain. Use the afternoon for Nishiki Market, a museum, or rest.
Day 7: Osaka
Move to Osaka or visit as a day trip from Kyoto. Choose Osaka Castle or Umeda during the day, then Namba and Dotonbori in the evening.
Day 8: Departure
Use a direct airport route when possible. Keep passports, tickets, and the hotel address easy to reach.
For seven days, remove one Tokyo day or use Kyoto as the base for Osaka. For ten days, add Nara, an onsen night, or one extra Tokyo day. Do not add all three.
Step 6: Book the Difficult Parts First
Book the parts that would disrupt the trip if they were unavailable. Leave ordinary meals and evenings flexible.
- International flights and the first and final hotels.
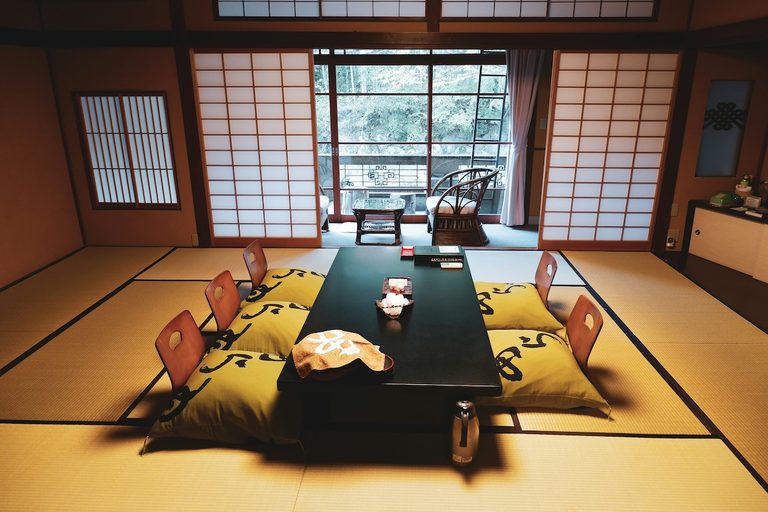
- Ryokan stays and rooms with private baths.
- Theme parks and limited-entry attractions.
- Special tours, performances, and seasonal events.
- Meals that must meet strict dietary needs.
Shinkansen seats during busy periods or with oversized baggage.
For Tokaido, Sanyo, and Kyushu Shinkansen trips, SmartEX is one booking option. Check card acceptance and registration requirements before your trip.
Do not reserve every lunch and dinner. A delayed train or longer temple visit can make a simple meal reservation stressful. Keep meals flexible on transfer days.
For each fixed booking, save the confirmation, cancellation deadline, address, and contact method. Keep an offline screenshot on your phone.
Step 7: Prepare Mobile Data and Backup Information
Your phone becomes part of the transport plan. You may use it for station exits, walking routes, weather, opening hours, hotel addresses, translation, and ticket QR codes.
Save Maps and Addresses
Create a saved list for each city. Mark hotels, airports, major stations, and only the places you may actually visit. Save important addresses in English and Japanese.
Download offline map areas before departure. Offline maps help with walking, but they cannot show live train changes. Take screenshots of the first airport route and the next morning route.
Keep Power and Connection Ready
Carry a small power bank in your day bag. Power banks belong in carry-on baggage, not checked baggage. Check your airline’s capacity and use rules before flying.
A stable connection also helps when train times change or you need to show a hotel address.
Keep a Paper Backup
Write down your first hotel, final hotel, and emergency contact. Keep a copy of your passport details in a separate bag. A paper backup still helps if your battery dies or your phone is lost.
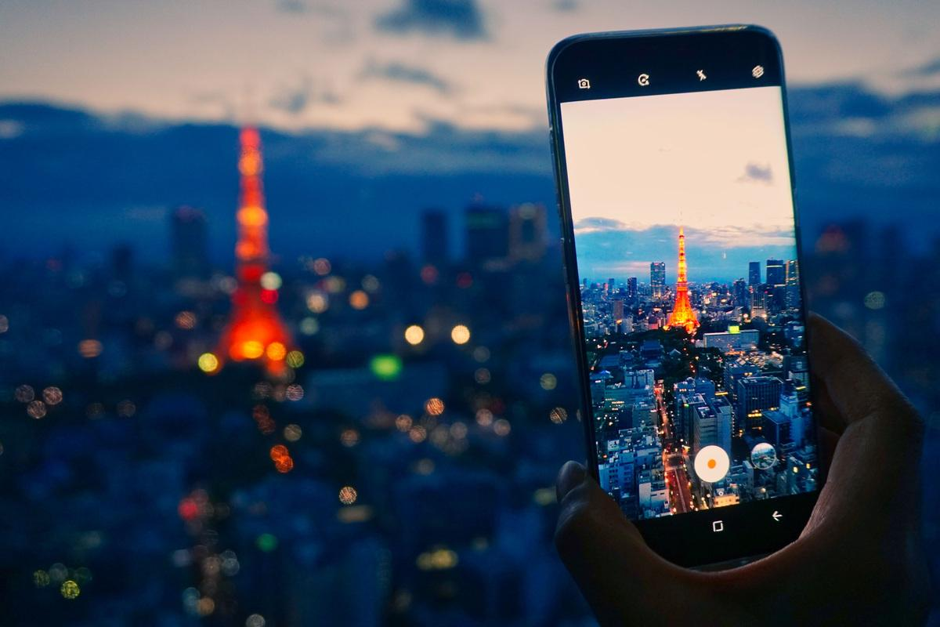
Photo: Pexels
Common Japan Trip Planning Mistakes
- Changing hotels too often. Each move includes packing, check-out, station travel, storage, and another check-in.
- Counting only the train ride. A two-hour train can become a four-hour hotel-to-hotel move.
- Choosing a hotel by station name without checking the correct exit and walking route.
- Trying to visit every famous place in one trip.
- Treating arrival and departure days as normal sightseeing days.
- Buying a rail pass before listing the actual journeys.
- Ignoring luggage size, elevators, and delivery time.
- Making every meal and evening fixed.
- Depending on one phone without screenshots or backup details.
A practical Japan trip planner leaves space for changes. Keep at least one free hour each day for weather, crowds, a missed turn, or a longer meal. That time can keep one delay from changing the whole day.
Travel Tips That Make the Route Easier
- Check the next day’s first route before sleeping. Confirm the departure station, train company, platform, and station exit.
- Avoid carrying large luggage during the weekday morning rush when possible.
- Keep a cash backup. Small shops, rural buses, lockers, or older machines may have different payment options.
- Wear shoes that are already comfortable. Large stations and temple approaches involve more walking than the map suggests.
- Plan a short rest before an evening activity. A hotel break can make dinner more enjoyable.
- On rainy days, reduce outdoor stops. On hot days, move outdoor sightseeings earlier.
- Before leaving a hotel, confirm whether the next property accepts forwarded luggage and when it should arrive.
- For the final night, choose convenience over novelty. Fewer airport transfers make the final morning less stressful.