Photo: Unsplash
Introduction
This Japan itinerary connects Tokyo, Mount Fuji through Lake Kawaguchi, and Ito Onsen in one realistic route. It gives first-time visitors city energy, mountain scenery, and a slower hot spring stay without crossing the entire country.
A six-day trip works best. Stay two nights in Tokyo, one night near LakeKawaguchi, and two nights in Ito. A five-day version is possible, but it leaves little room for bad weather or delays.
The route looks simple on a map, but the middle transfer needs care. Tokyo to Kawaguchi is direct. Kawaguchito Ito usually requires a bus and at least one rail transfer.
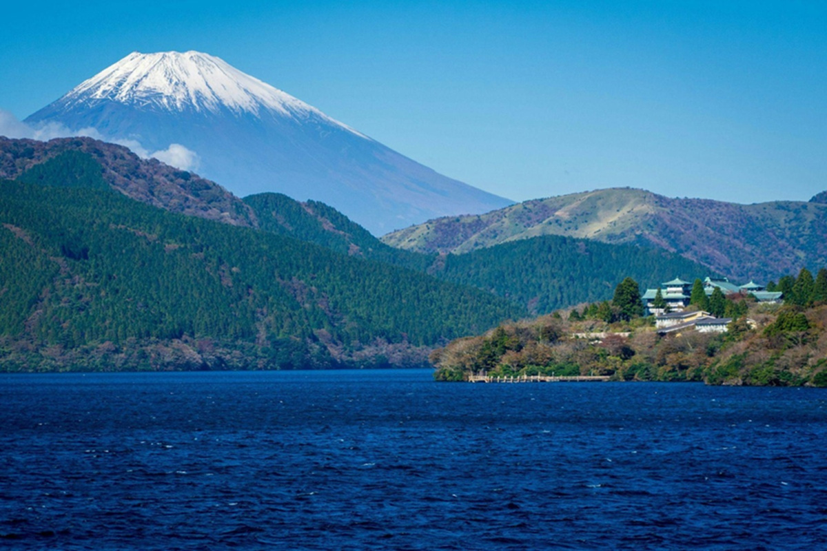
Mount Fuji may remain behind clouds. Build the lake day around scenery, food, and a relaxed walk, not one guaranteed photograph. Ito then gives the trip a softer ending.
Small details matter most on this route. A large suitcase, a late ryokan dinner, or the wrong station exit can change the whole day. This guide explains the route, itinerary options, booking order, and practical tools. A stable connection is useful during the bus and train transfers. A Japan eSIM can help you check platforms, hotel messages, and changing weather while traveling.
Route at a Glance
Day 1: Arrive in Tokyo and keep the evening light.
Day 2: Explore one side of Tokyo without crossing the city repeatedly.
Day 3: Visit western Tokyo, then travel to Lake Kawaguchi.
Day 4: Use the clearest Fuji weather, then continue to Ito Onsen.
Day 5: Choose central Ito or one Izu coast outing.
Day 6: Return to Tokyo, continue west, or move toward the airport.
The route moves from busy to quiet. That change of pace is its main strength. Do not turn Kawaguchi into a rushed stop between two trains. One night gives you an afternoon and a morning weather window.
Who This Japan Itinerary Suits
This route suits couples, solo travelers, and adults who enjoy scenery, local food, and hot springs. It also works for visitors who want more than Tokyo but do not want a fast Tokyo, Kyoto, and Osaka schedule.
It is less suitable for travelers who want nightlife every evening or who carry several large bags. Families can use the route, but should reduce walking and confirm hotel shuttles.
This itinerary uses Kawaguchi as a Mount Fuji viewing base. It is not a climbing itinerary. Climbing requires separate seasonal planning, equipment, reservations, and safety checks.
Before You Book Hotels and Transport
Choose the Tokyo hotel with the Fuji transfer in mind. Shinjuku is practical for direct trains and highway buses. However, Shinjuku Station is large. A hotel using the station name may still require a long indoor walk.
InKawaguchi, stay near the station or choose a hotel with a confirmed shuttle. Lakeside hotels may offer better views, but the final bus or shuttle time matters after dinner.
In Ito, a hotel near Ito Station keeps the final transfer simple. Central Ito also gives easier access to restaurants, the Matsukawa River, and local buses. A remote coastal ryokan adds another transfer.
Send the large suitcase from Tokyo to Ito when both hotels accept delivery. Carry a small overnight bag toKawaguchi. Delivery is not always same-day, so confirm the receiving date and hotel policy.
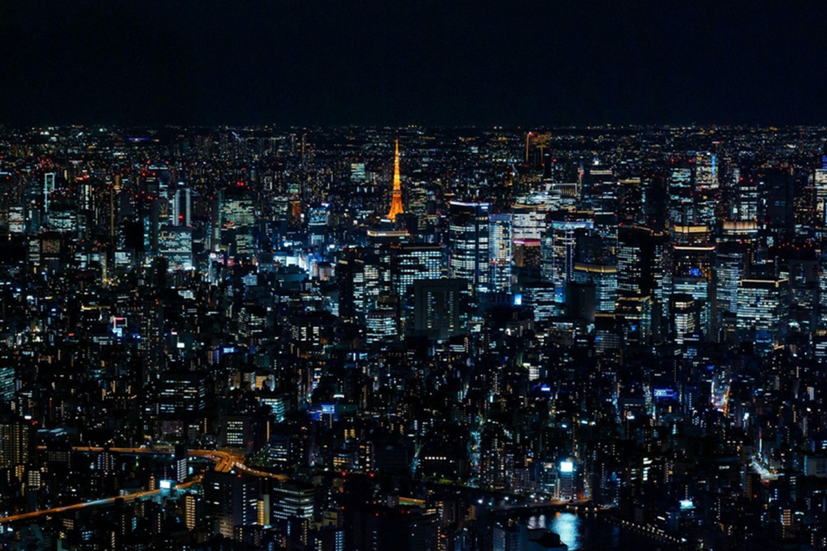
Photo: Unsplash
Day 1: Arrive and Learn the Local Route
Travel to the hotel, check in, and learn the area around the nearest station. Find the ticket gates, convenience store, and an easy dinner option. Those small checks make the next morning calmer.
Do not place a timed attraction immediately after an international flight. Immigration, baggage collection, and airport transport can take longer than expected. A short neighborhood walk is enough.
Before sleeping, confirm the next morning route and the departure plan forKawaguchi. Save the hotel name in Japanese and take screenshots of any fixed booking.
Day 2: Choose Eastern or Western Tokyo
For an eastern day, combine Asakusa and Ueno. Start at Senso-ji before the busiest period, then continue to Ueno for a museum, park walk, or Ameyoko. Choose one main afternoon activity.
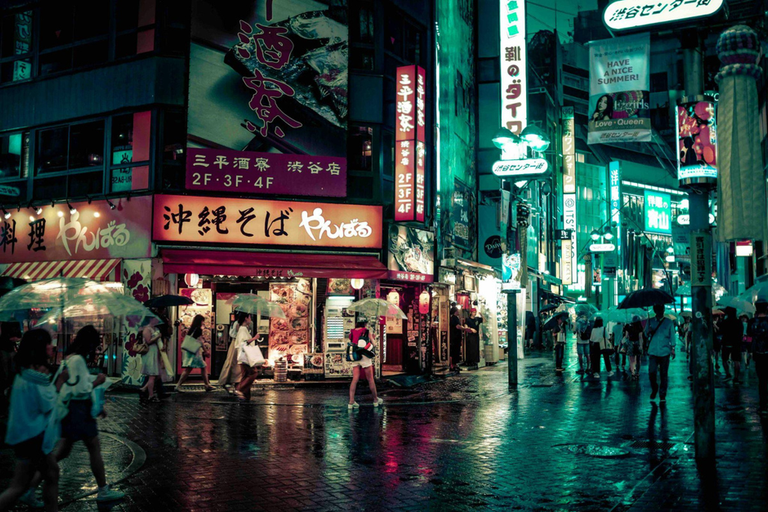
For a western day, begin at Meiji Jingu, then continue to Harajuku, Omotesando, or Shibuya. Do not force every district into one day. Shopping and station walking often take longer than expected.
If you plan to travel from Shinjuku the next day, a western Tokyo afternoon can reduce backtracking. Pack the Kawaguchi bag in the evening and arrange luggage delivery before the hotel reception closes.
Day 3: Tokyo to Lake Kawaguchi
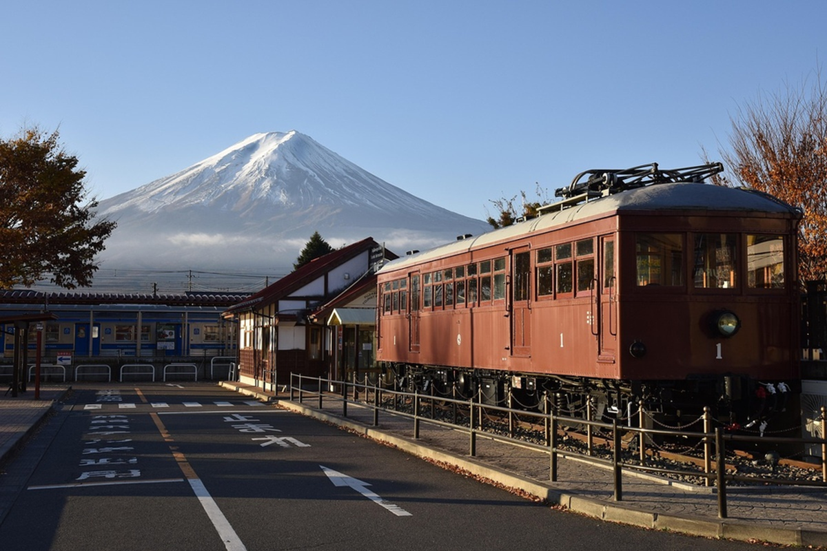
Photo: Pixabay
Choose One Direct Route
From Shinjuku, the direct FUJI EXCURSION limited express and highway buses are the simplest choices. The train avoids road traffic. The bus may offer more departure choices. Both can sell out on popular dates.
Check current departures and reservation rules on the JR East FUJI EXCURSION page or the Fujikyu Railway website.
Choose the route that fits your hotel and luggage. Do not cross Tokyo during the morning rush only to save a small amount of travel time. Reach the departure point early enough to find the correct platform or bus floor.
What to Do After Arrival
Leave the overnight bag at the hotel or station before sightseeing. Lake Kawaguchi is larger than it appears. Some viewpoints require a bus, taxi, bicycle, or hotel shuttle.
Use the clearest weather window for the main Fuji view. If the mountain is visible after arrival, do not assume it will remain visible the next morning. Visit the lakefront or one viewpoint while conditions are good.
A hidden mountain does not make the day a failure. Walk beside the lake, visit a museum, use an onsen, or stop at a café. Check local weather and live camera information instead of relying only on a general Tokyo forecast.
If the hotel includes dinner, confirm the serving time before leaving Tokyo. Some ryokan cannot provide the full meal after the final dining period.
Day 4: Lake Kawaguchi to Ito Onsen
This is the most important planning day. There is no simple direct train between Kawaguchi and Ito. A practical southbound route uses a reserved bus to Mishima, followed by rail through Atami to Ito.
Use the morning for one side of the lake. Choose two or three nearby stops instead of chasing viewpoints across the whole area. Return to KawaguchiStation with a clear buffer before the reserved bus.
Check current regional bus information through Fujikyu Bus and confirm reservations before the trip. Timetables and booking methods can change anytime.
At Mishima, continue toward Atami. A local train may be simpler than a short Shinkansen ride when the connection is tight. At Atami, follow signs for the JR Ito Line and confirm the destination before boarding.
Treat the transfer as the main task of the afternoon. Do not add a distant Ito attraction after arrival. Check in, walk near the Matsukawa River, use the hotel bath, and eat dinner.
Keep medicine, documents, chargers, and one change of clothes in your overnight bag. Save the bus ticket, Mishima transfer, Ito hotel name, and dinner time offline.
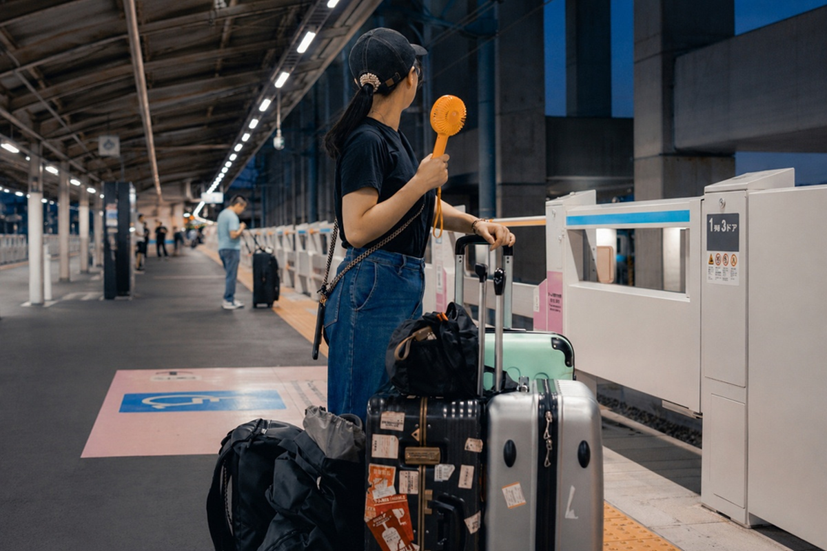
Photo: Pexels
Days 4 and 5: Slow Down in Ito Onsen
Use the First Evening for the Onsen
Ito is a useful final stop because the station, central hot spring area, riverside streets, and local restaurants are relatively close. The first evening should feel different from Tokyo andKawaguchi.
Wash before entering the bath, keep the small towel out of the water, and do not use a phone in the bathing area. Swimwear is generally not worn in a traditional shared bath. Tattoo policies differ by property, be sure to check them in advance.
A hotel dinner is practical after the long transfer. Ito is known for seafood, and many ryokan serve multi-course meals. Confirm the dinner start time and let the frontdesk know if your transfer is delayed.
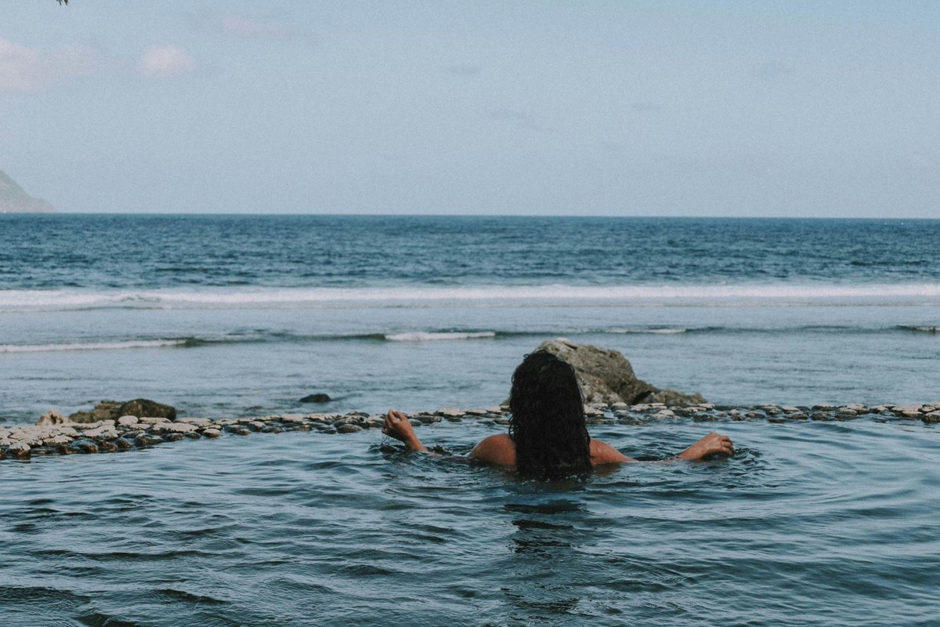
Photo: Pexels
Day 5: Choose Town or Coast
For a relaxed day, stay in central Ito. Walk beside the Matsukawa River and visit Tokaikan, a former wooden hot spring inn. Check opening information before visiting.
For a nature day, choose the Jogasaki Coast or the Izu Kogen area. Both require local transport and more walking. Do not combine every coastal attraction with a full town visit.
Use the official Ito tourism guide to check access, seasonal notices, and current attraction information.
Return early enough to enjoy the bath before dinner. Two nights turn Ito from a hotel stop into a real part of the itinerary. The first evening becomes recovery time, while Day 5 remains open for one simple outing.
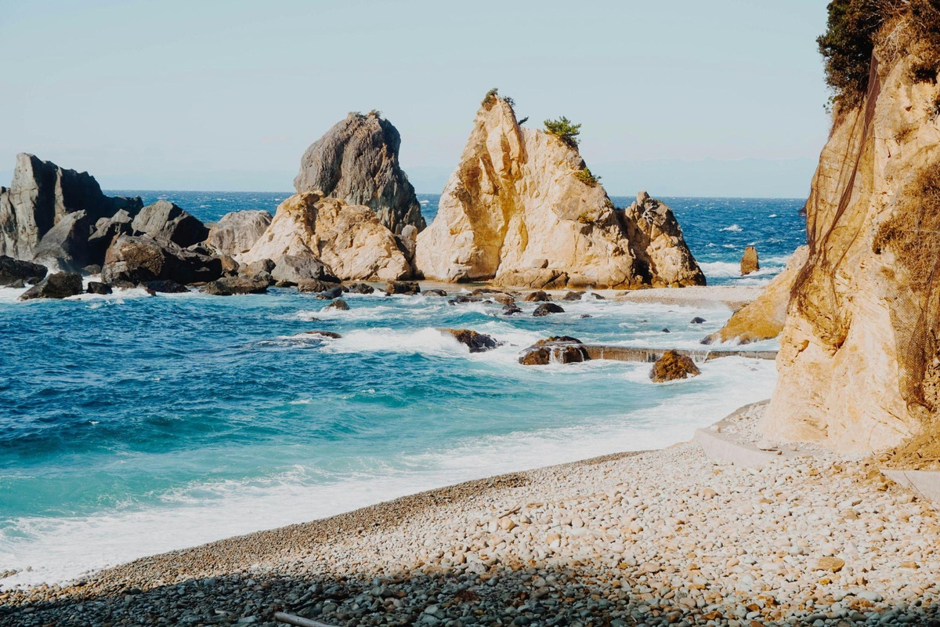
Photo: Unsplash
Day 6: Return to Tokyo or Continue West
Enjoy breakfast and one last bath, then travel toward Atami. Direct limited express services may connect parts of Izu with Tokyo on selected schedules. The transfer through Atami usually provides more choices.
Do not schedule an international flight too close to the Ito departure. For an early flight, stay near Tokyo or the airport the previous night. A final buffer protects the whole trip from one rail delay.
Travelers continuing to Kyoto or Osaka can use the Tokaido Shinkansen from Atami. Check which services stop there because not every train does.
Five-Day, Six-Day, and Seven-Day Options
Five-Day Option
Use one arrival evening and one full Tokyo day. Travel to Kawaguchi on Day 3, continue to Ito on Day 4, and return on Day 5. This plan is less forgiving when Mount Fuji is hidden or a transfer runs late.
Save time by removing one Tokyo area and the Izu coast outing. Do not save time by cutting every transfer buffer.
Six-Day Option
The main itinerary gives two Tokyo nights, one Kawaguchi night, and two Ito nights. It offers the best balance between sightseeing and recovery for most first-time visitors.
Seven-Day Option
Add one Tokyo day or one extra Kawaguchi night. The extra lake night improves weather flexibility. The extra Tokyo day suits travelers arriving after a long overnight flight.
Do not add a fourth destination simply because another day is available. Use the time to reduce pressure inside the existing route.
How Much Time to Allow at Each Stop
Tokyo needs one arrival evening and at least one full sightseeing day. Two full days are better when you want both historic eastern districts and modern western districts. In this route, Tokyo should not consume every available day because the regional transfers also need energy.
Lake Kawaguchi works best with one night. An afternoon arrival gives you one viewing window, while the next morning gives you another. A same-day stop between Tokyo and Ito creates too much pressure when clouds, traffic, or bus queues change the plan.
Ito deserves two nights when the goal is rest. One night provides dinner and a bath, but little time for the town or coast. Two nights allow you to arrive slowly, sleep well, and choose one simple outing without packing again the next morning.
When the trip is longer than seven days, add time inside these three stops before adding another city. An extra Tokyo day helps with jet lag. An extra Kawaguchi night improves weather flexibility. An extra Ito night supports a longer Izu outing.
Best Time and Weather Strategy
Spring and autumn offer comfortable walking weather, but weekends and holiday periods can be busy. Reserve direct trains, buses, and popular ryokan earlier during cherry blossom and autumn color seasons.
Early summer can bring rain and low-altitude clouds around Mount Fuji. Summer heat affects Tokyo and the lake area, so place outdoor walks earlier and use cafés or museums during the hottest hours. Carry water even when the mountain air feels cooler.
Winter often brings clearer Fuji views, but mornings can be cold and daylight is shorter. Check for wind, ice, and transport changes before using lake paths or coastal routes. Ito remains useful in winter because the onsen and central town provide indoor recovery time.
Use the weather differently in each destination. Tokyo can absorb a rainy day with museums and shopping. Kawaguchi needs the greatest flexibility because the mountain view can change quickly. Ito can move between a town day, bath time, and a coastal outing.
What to Pack and What to Keep With You
Pack one pair of comfortable walking shoes and layers that work in both city and mountain weather. Kawaguchi can feel colder or windier than Tokyo on the same day. A light waterproof layer is useful near the lake and coast.
Use a small bag that leaves both hands free. Keep your phone, power bank, reservation screenshots, medicine, water, and one warm layer easy to reach. Do not place essential items inside the suitcase being delivered to Ito.
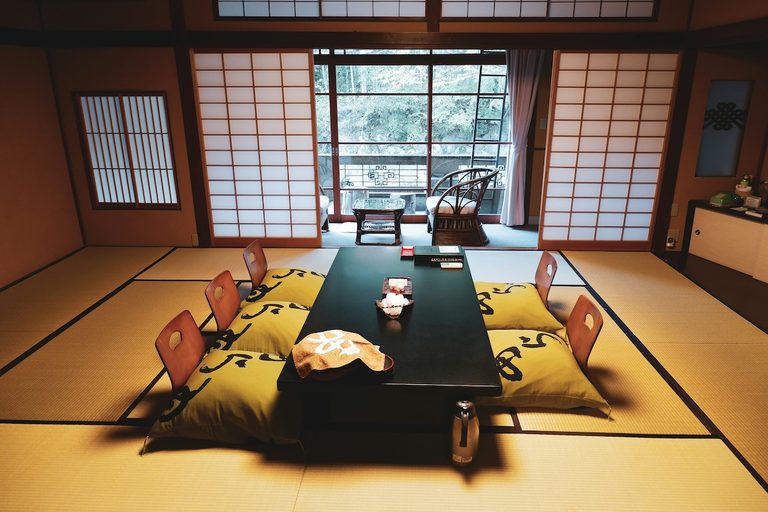
Most ryokan provide basic bathing items and a yukata. Check the accommodation details before packing extra towels or sleepwear. Bring simple clothing that is easy to change into after the bath and comfortable during a multi-course dinner.
Keep food plans flexible on transfer days. Eat before leaving Tokyo, carry a light snack for the Kawaguchi route, and confirm the Ito dinner time. Do not depend on finding a specific restaurant after a late bus or train connection.
Travel Tips for a Smoother Route
Book the fixed parts first. Reserve the Kawaguchi hotel, the southbound bus, and any ryokan dinner plan before filling Tokyo sightseeing.
Check weather separately for Tokyo,Kawaguchi, and Ito. Conditions can differ on the same day.
Identify the last comfortable train or bus departure, not only the final service. Keep another option behind your planned departure.
Carry some cash for smaller buses, baths, lockers, or local restaurants.
Wear shoes that work on wet pavement, station stairs, lake paths, and coastal walks.
Keep one indoor option in every destination. Tokyo has museums, Kawaguchi has cafés and museums, and Ito has baths and historic buildings.
Choose fewer transfers when the time difference is small. The fastest phone route is not always the easiest route with luggage.
Common Mistakes on This Route
Treating Mount Fuji as a guaranteed view.
Booking a lakeside hotel without checking the shuttle or final bus.
Carrying a large suitcase through the Kawaguchito Ito transfer.
Scheduling a fixed ryokan dinner without enough travel time.
Adding a full coastal day immediately after the long transfer.
Depending on live mobile data without saving screenshots.
Leaving Ito on the same morning as an early international flight.