 Photo: Unsplash
Introduction
Standing in front of a Japanese shrine for the first time, most visitors feel the same thing: they want to join in, but they are not quite sure what to do.
The good news is that shrine etiquette is simpler than it looks. A few steps, a moment of quiet, and the experience becomes something you will remember long after you leave Japan.
This guide explains how to pray at a shrine in Japan, step by step. It covers the basic ritual, what each part means, and practical tips for four significant shrines — Ise Jingu, Izumo Taisha, Atsuta Jingu, and Meiji Jingu. Whether you are planning a dedicated shrine visit or adding one to an existing route, a little preparation makes the whole experience more relaxed.
You will check maps, train times, and opening hours many times during your visit. A reliable eSIM keeps that information available wherever you are. Stay connected with a Japan eSIM
From experience guiding group tours to shrine sites across Japan, the visitors who enjoy these places most are usually the ones who slow down and follow the flow. You do not need to know every rule. But a little awareness goes a long way.
Overview: What to Know Before You Visit
Japanese shrines (jinja) are Shinto places of worship, marked by a torii gate at the entrance. They are different from Buddhist temples, though both are common across Japan. Visiting does not require any particular religious belief — many Japanese people come to shrines for gratitude, blessings, and seasonal celebrations.
Quick reference:
- Best time to visit: Early morning before 9am — the air is quieter, crowds are thinner, and the atmosphere is noticeably different
- Time needed: 30 to 60 minutes for smaller shrines; 2 to 4 hours for large complexes like Ise Jingu
- What to bring: Small coins for the offering box (¥5 coins are traditionally considered lucky), comfortable walking shoes
- Photography: Generally permitted in outer areas; follow posted signs near inner sanctuaries
- Admission: Most shrines are free to enter; some inner areas may charge a fee
One practical note before you go: large shrines often have multiple entrances. Checking the map before you leave your hotel — and identifying which entrance is closest to your station exit — can save you 15 minutes of unnecessary walking. If you are carrying luggage, look for coin lockers at the nearest station. Most major shrine paths are gravel, and rolling a suitcase on gravel is hard work.
How to Pray at a Shrine in Japan: Step by Step
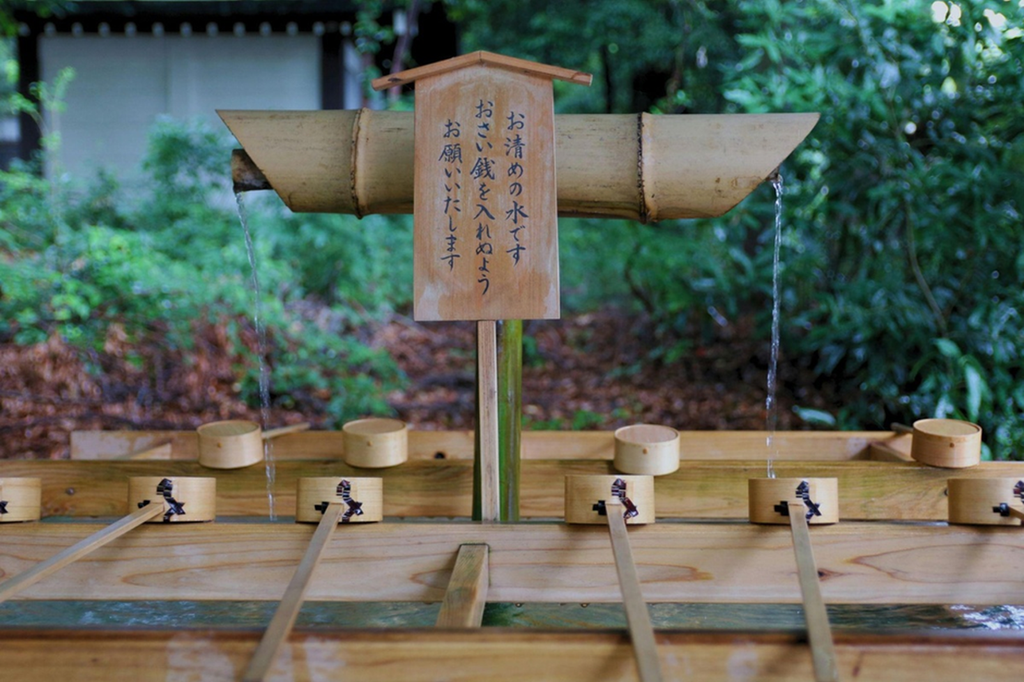
 Photo: Pexels
This sequence is used at most Shinto shrines across Japan. The steps are the same whether you are visiting a small neighborhood shrine or one of the country’s most important sacred sites.
Step 1: Bow at the Torii Gate
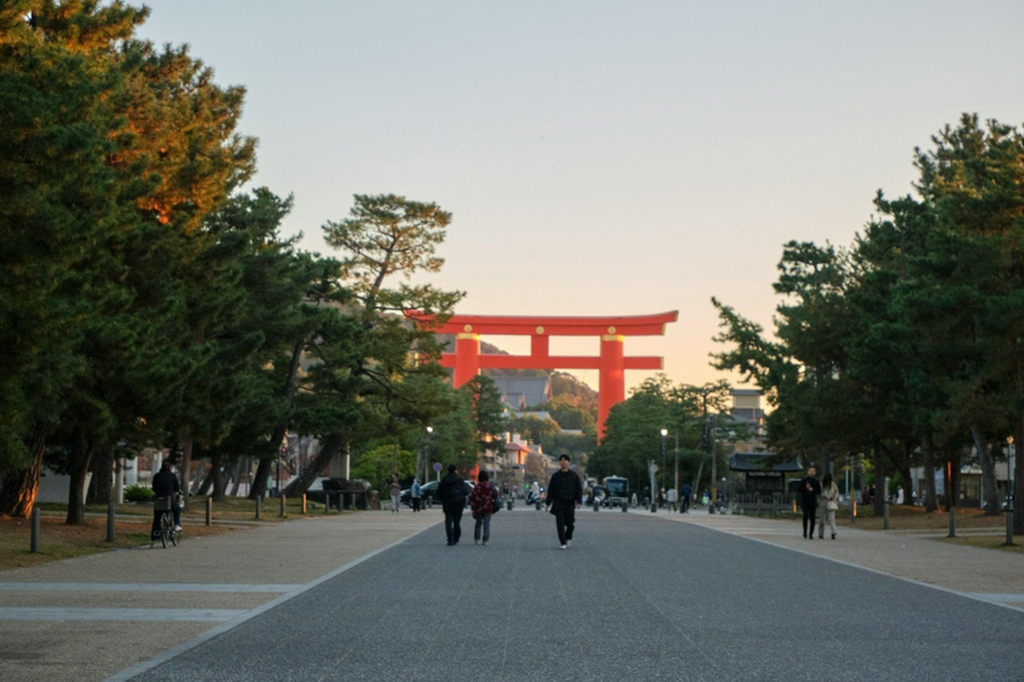
Before passing under the torii gate, pause and give a light bow. This marks the transition from the ordinary world into the sacred space of the shrine.
Walk along the sides of the path rather than the center. The center lane (sandō) is traditionally considered the path of the deity.
Step 2: Purify at the Temizuya
The temizuya is a stone water basin near the entrance, with wooden ladles (hishaku) resting across it. Here is the full sequence:
- Pick up the ladle with your right hand. Pour water over your left hand.
- Switch the ladle to your left hand. Pour water over your right hand.
- Switch back to your right hand. Pour water into your cupped left hand and rinse your mouth. Do not touch the ladle directly to your mouth.
- Wash your left hand one more time.
- Tilt the ladle upright so the remaining water runs down the handle, then return it.
At some shrines, the temizuya may be simplified or temporarily closed. If there are no ladles available, follow what the people around you are doing — or use hand sanitizer if provided nearby.
Step 3: Approach the Haiden
Walk calmly toward the main hall of worship (haiden). If a rope with a large bell (suzu) hangs above the offering box, give it a gentle shake before making your offering. The sound is thought to alert the deity to your presence.
Step 4: Make an Offering
Toss a coin gently into the offering box (saisen-bako). Any denomination works. A ¥5 coin is traditionally favored because the Japanese word for ¥5 — go-en — sounds like the word for “good connection” or “fate.” It is a small detail, but it is the kind of thing that makes the moment feel more meaningful.
Step 5: 2 Bows, 2 Claps, 1 Bow
This is the core prayer sequence used at most shrines in Japan.
- Bow twice — deep, deliberate bows from the waist, approximately 90 degrees.
- Clap twice — bring your hands together at chest level and clap clearly twice.
- Pray quietly — hold your hands together. A moment of gratitude or a quiet wish is enough. There is no fixed prayer required.
- Bow once more — a final bow to close.
One exception: at Izumo Taisha, the sequence is 2 bows, 4 claps, 1 bow. This is a confirmed local custom specific to that shrine, covered in more detail below.
If the line is long and you are tired, a respectful bow from a distance is a perfectly appropriate way to acknowledge the space. The spirit of the visit matters more than executing every step perfectly.
Recommended Spots
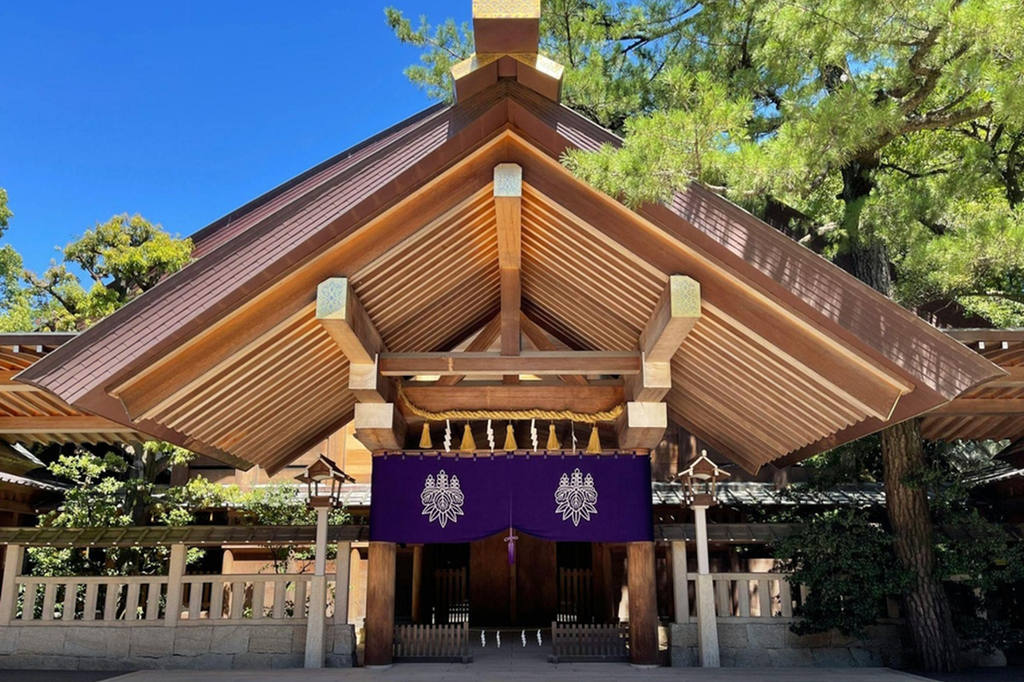
 Photo: Pexels
1. Ise Jingu (Mie Prefecture)
Ise Jingu is considered Japan’s most sacred Shinto site — a complex of over 125 shrines centered on two main areas: the Geku (Outer Shrine, dedicated to the deity of food and industry) and the Naiku (Inner Shrine, dedicated to Amaterasu, the sun goddess). Most visitors see both, starting with Geku before moving to Naiku.
Best for: Anyone who wants to experience the most significant Shinto shrine in Japan. The cedar-lined forest approach to Naiku is unlike anything else in the country.
Time needed: At least 3 to 4 hours to see both main areas properly. A half day is safer.
Best time to visit: Early morning. The light through the cedar trees before 8am, and the sound of the Isuzu River nearby, make the early start genuinely worth it.
Access: From Osaka or Kyoto, take the Kintetsu Limited Express to Iseshi Station (approximately 2 hours). The premium Shimakaze express is comfortable and spacious for luggage, but requires a reservation. From Nagoya, the Kintetsu limited express takes approximately 1:30 hours.
Practical tip: Geku and Naiku are several kilometers apart. Buses run between them, but check the schedule on your phone before you go — they do not run every few minutes. Leaving your luggage in a coin locker at Iseshi Station before heading out makes the day considerably easier.
The inner sanctuary of Naiku is not open to the public — you approach from outside a wooden fence. This surprises some visitors. The atmosphere comes from the approach and the forest, not from an interior view.
Official website: Ise Jingu official site
Location: Google Maps
2. Izumo Taisha (Shimane Prefecture)
Izumo Taisha is one of Japan’s oldest shrines, dedicated to Okuninushi no Mikoto, a deity associated with relationships, marriage, and good fortune. It draws visitors from across Japan who come specifically to pray for connection and love.
The prayer sequence here is different: 2 bows, 4 claps, 1 bow. This is specific to Izumo Taisha and worth knowing before you arrive so the moment feels intentional rather than confusing.
Best for: Travelers with an interest in Shinto history, or those who want a slower shrine experience away from large-city crowds. Late afternoon, when the sun catches the massive shimenawa (sacred rope) hanging inside the main hall, is a particularly good time to visit.
Time needed: 1:30 to 2 hours for the main grounds. More if you explore Inasa-no-Hama beach nearby, which is associated with Shinto mythology.
Access: From Osaka or Kyoto, take the Shinkansen to Okayama, then the Yakumo limited express to Izumoshi Station, then a local Ichibata Railway train to Taisha-mae Station. Total time is approximately 3 to 3:30 hours. From Tokyo, a domestic flight to Izumo Airport is often more practical. The overnight Sunrise Izumo train from Tokyo is also an option — slower, but a memorable way to arrive.
This is not a half-day addition from a distant city. Build it as a dedicated day trip or include an overnight stay nearby.
Official website: Izumo Taisha official site
Location: Google Maps
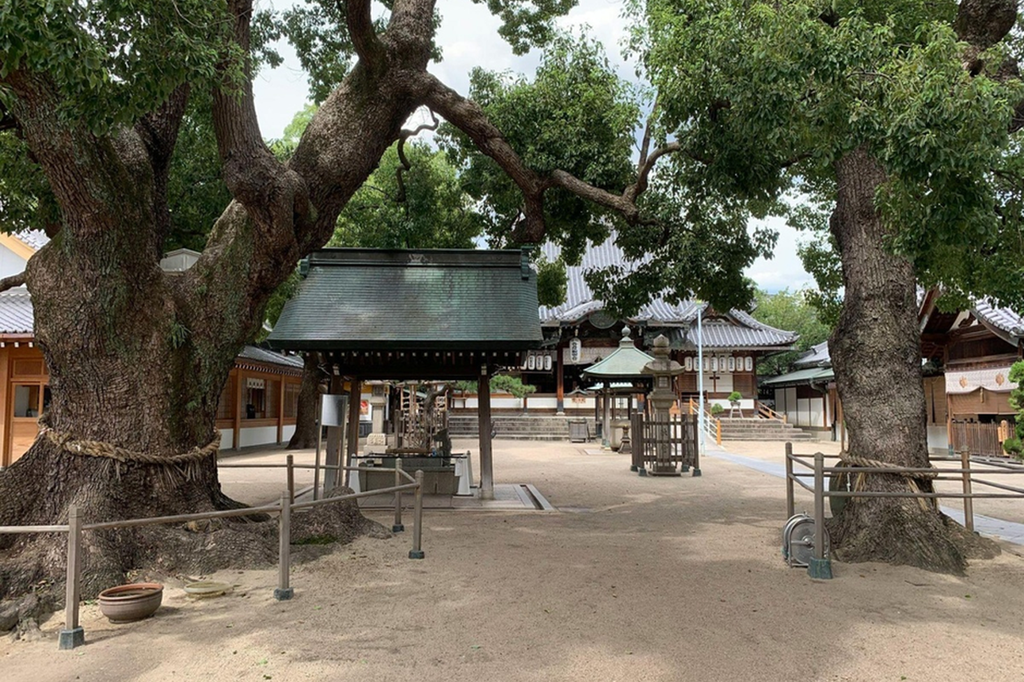
 Photo: Pixabay
3. Atsuta Jingu (Nagoya, Aichi Prefecture)
Atsuta Jingu sits inside Nagoya city, making it the most accessible shrine in this guide. It enshrines the Kusanagi-no-Tsurugi — one of the three imperial treasures of Japan — and the forested grounds feel surprisingly calm given their urban location.
Best for: Travelers passing through Nagoya, or anyone building a route through central Japan. It works well as a half-day addition to a Nagoya visit without requiring special planning.
Time needed: 1 to 1:30 hours for the main grounds and forest path.
Best time to visit: Morning or late afternoon. The ancient trees keep the main path shaded, which is a real advantage in summer.
Access: From Nagoya Station, take the Meitetsu Line to Jingu-mae Station (approximately 7 minutes). Jingu-mae Station is significantly closer to the main entrance than the JR Atsuta Station — worth checking on a map before you tap out.
Practical tip: The grounds are largely gravel and pebble paths. Comfortable shoes matter here more than at many other sites.
Official website: Atsuta Jingu official site
Location: Google Maps
4. Meiji Jingu (Tokyo)
Meiji Jingu is the most accessible option for first-time visitors staying in Tokyo. Located in a forested area between Harajuku and Yoyogi, it offers a genuine sense of quiet within one of the world’s largest cities.
Best for: First-time visitors in Tokyo who want to experience shrine culture without traveling far.
Time needed: About 1 hour for the main shrine and forest path.
Access: From Harajuku Station (JR Yamanote Line), the walk to the main shrine building takes 10 to 15 minutes along a gravel forest path. It feels longer than the map suggests, especially if you are not expecting it. Plan accordingly.
Practical tip: Meiji Jingu is very busy on weekends and national holidays. Visiting on a weekday morning gives a noticeably different experience.
Official website: Meiji Jingu official site
Location: Google Maps
Travel Tips
Shoes matter more than most visitors expect. Major shrines use tamajari gravel on their paths. It is meant to purify the ground, but it is tiring underfoot with thin soles or heels. Comfortable walking shoes or sneakers are the right call.
The ¥5 coin. Go-en (¥5) sounds like the Japanese word for “good connection” or “fate.” Many people keep a few specifically for shrine offerings. It is a small detail, but it gives the offering a bit more intention.
Station exits. At urban shrines like Meiji Jingu and Atsuta Jingu, the wrong exit can add 15 to 20 minutes of walking around a fence or forested boundary. Check the exit number before you tap out at the ticket gate.
Photography. Outdoor shrine grounds and torii gates are generally fine to photograph. Inner sanctuaries and main prayer halls usually prohibit it. Follow posted signs. Photographing other visitors during prayer without their awareness is not appropriate.
Quiet behavior. Keep your voice low, move at a calm pace, and give space to others who are praying. No one will enforce this strictly — it is simply about matching the atmosphere of the place.
Crowds and timing. New Year (January 1–3) is the busiest period at almost every shrine in Japan, particularly Meiji Jingu and Atsuta Jingu. Major national holidays and festival periods also bring large numbers. Early morning on weekdays is consistently the most comfortable window throughout the year.
Connectivity in forested and rural areas. Shrines surrounded by thick forest or located in rural prefectures like Shimane can have unreliable public WiFi. Checking bus schedules, prayer steps, or the nearest restroom is easier with mobile data.
Stay connected in Japan with a Japan eSIM
Access
To Ise Jingu
From Osaka or Kyoto: Kintetsu Limited Express to Iseshi Station, approximately 2 hours. The Shimakaze premium express requires a reservation but offers more comfort and luggage space. From Nagoya: Kintetsu Limited Express to Iseshi Station, approximately 1:30 hours. Service frequency varies — check the current timetable before travel.
To Izumo Taisha
From Osaka or Kyoto: Shinkansen to Okayama, then Yakumo limited express to Izumoshi Station, then Ichibata Railway to Taisha-mae Station. Approximately 3 to 3.5 hours total. From Tokyo: A domestic flight to Izumo Airport is usually faster. The Sunrise Izumo overnight train is a slower but more atmospheric option. The Yakumo limited express from Okayama runs less frequently than Shinkansen services — missing a connection adds significant waiting time. Check the full schedule before you go.
To Atsuta Jingu
From Nagoya Station: Meitetsu Line to Jingu-mae Station, approximately 7 minutes. Use Jingu-mae Station rather than JR Atsuta Station — the entrance is considerably closer.
To Meiji Jingu
From Harajuku Station (JR Yamanote Line): 10 to 15 minutes on foot along the forest path to the main shrine. From Yoyogi Station: Similar walking time from a different direction.
Travel times are approximate and may vary. Check current routes on the day of travel.
Google Map
Checking the map before you finalize your itinerary helps when deciding which shrines to combine and which to visit as standalone trips.
- Ise Jingu: Check both Geku and Naiku — they are several kilometers apart and connected by bus. Ise Jingu (Geku / Outer Shrine) , Ise Jingu (Naiku / Inner Shrine)
- Izumo Taisha: Better as a dedicated day trip or overnight stay. Izumo Taisha
- Atsuta Jingu: Pairs well with Ise if you are based in Nagoya and start early. Atsuta Jingu
- Meiji Jingu: Fits naturally into a Tokyo half-day without much extra planning. Meiji Jingu
 Photo: Unsplash
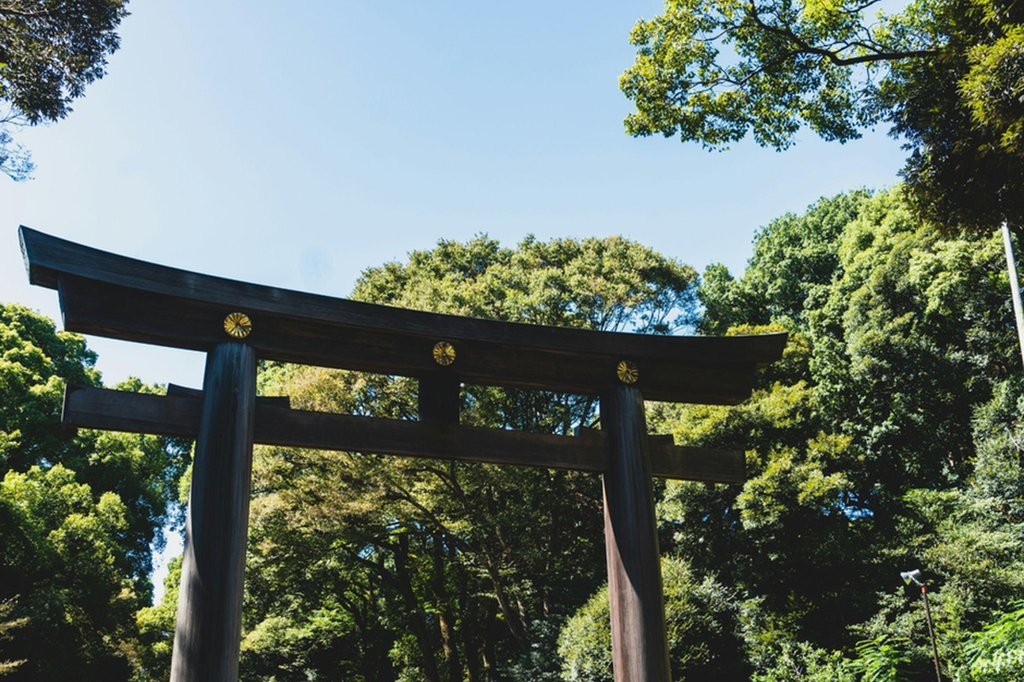
 Photo: Unsplash